Starting a garden from seed is a rewarding and exciting endeavor. A great way to start seeds is in a controlled environment such as in your house, garage or in a greenhouse. Once your seedlings are well started (and the weather is warm enough) you can then transplant them into your outdoor garden space. Here are a few of the benefits of starting your seeds this way.
- Great way to get a jump on the season, especially if you live in a cold climate or have a short growing season.
- Saves money starting from seed rather than purchasing garden seedlings.
- More varieties and selections to choose from than purchased seedlings.
- Starting indoors give you more control over climate and avoids most pest problems.
Getting Started
Though it may seem intimidating to start plants from seeds, it is actually quite simple. In this article, I'll walk you through it step-by-step. Let get started!
WHEN TO PLANT YOUR SEEDS
When is the best time of year to start your seeds? Generally most seeds can be started indoors 4-6 weeks before your last frost date. It's best not to start them much earlier than that as they will get rather large indoors before it is safe to transplant them into the garden. The Old Farmer's Almanac has a handy tool that calculates your local last frost date for the spring and the first frost date for the fall/winter (click here for frost date calculator).
Most seeds come with great instructions either directly printed on the back of the seed packet or as a supplementary card. This information is important and extremely helpful. Somethings that will be noted on the seed packet are ideal soil temperatures, number of days to germination, if the plant prefers full sun or partial sun, number of days to harvest, how to water (some plants prefer dry soil while others need regular moisture). The seed packet should also list how many weeks before your last frost date you should start your seeds. This will help you figure out exactly when you should start each specific seed you are growing.
SUPPLIES
Now let move on to what you'll need to grow seeds! I'll elaborate more on each item listed below. Having the right supplies and understanding how to use them is the key to seed starting success
1) Containers (pots, seed trays, etc)
2) Seed Starting Mix
3) Seeds
4) Labels
5) A light source
6) Air flow
7) Heat
8) Water
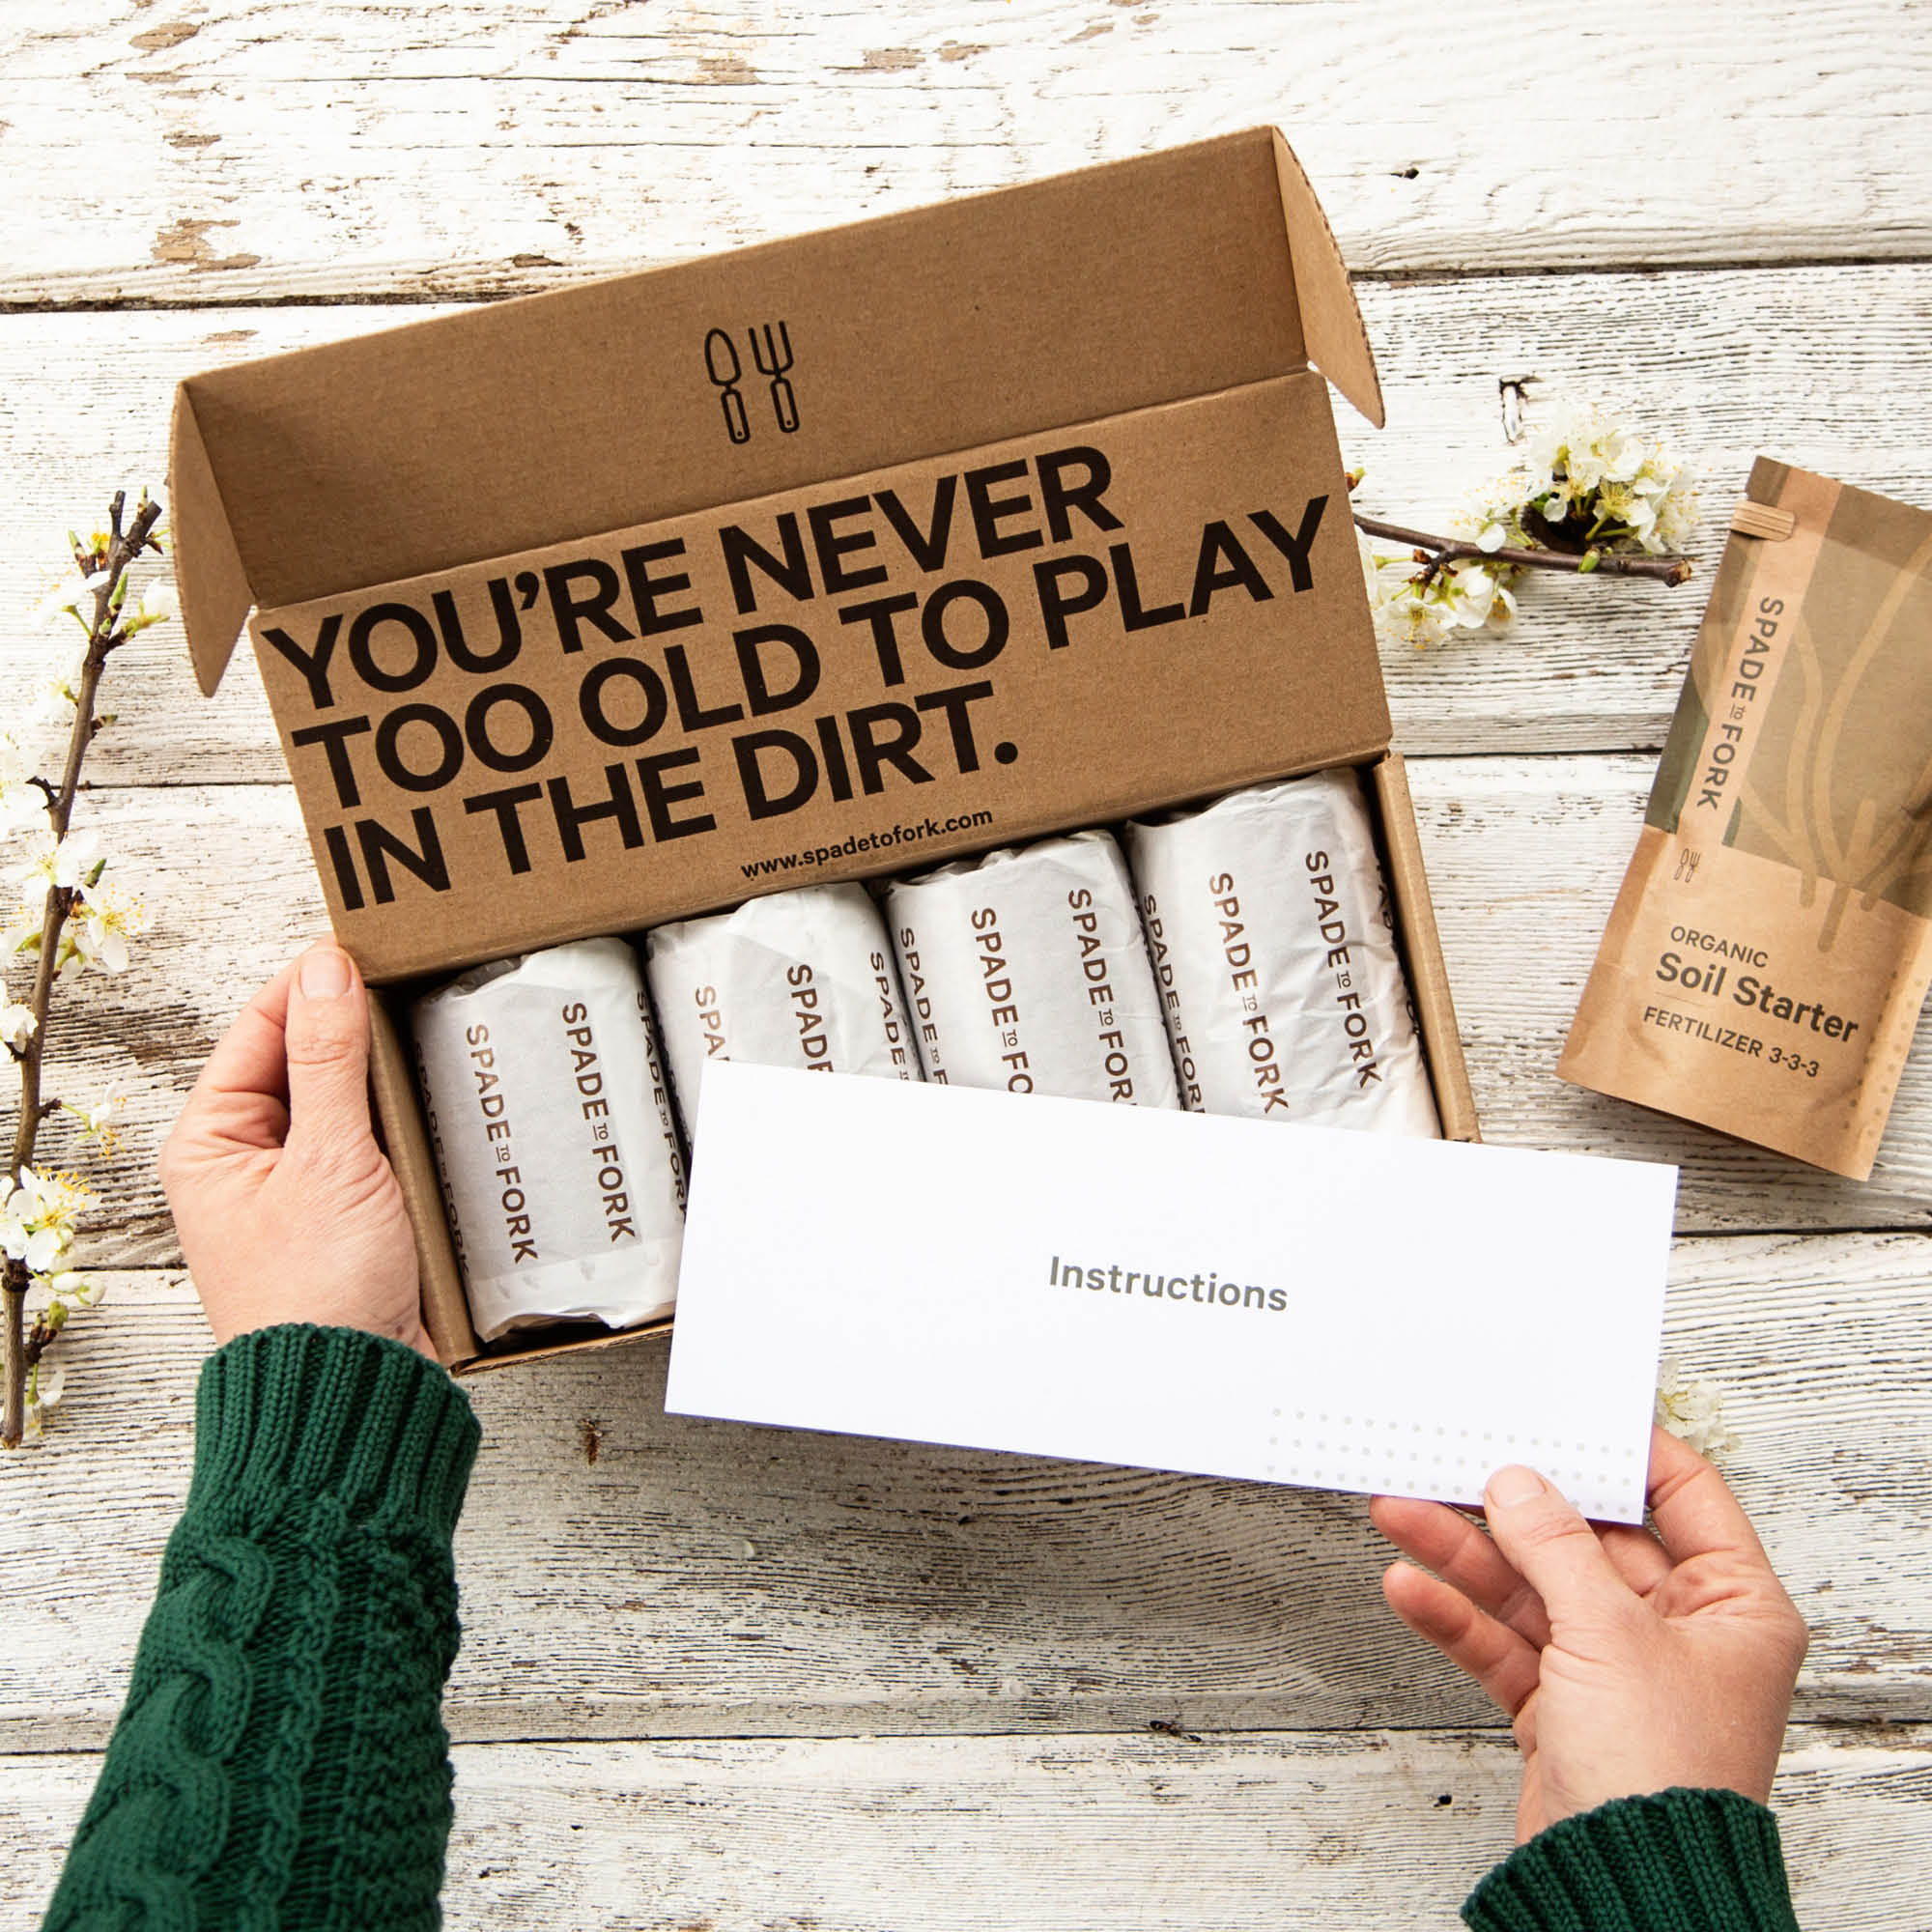
OR, you can purchase a seed starting kit that includes containers, seeds, seed starting mix and labels to make things easier.

1) Containers
There are many different containers you can use to start your seeds in. My personal favorites are biodegradable pots and soil blocks because they eliminate the use of plastic. Other alternatives you may have right around your home to start seeds in are egg shells, egg cartons and paper towel rolls. Plastic pots and seed trays are also easy to find at your local garden center. Whatever you choose, be sure it has good drainage as sitting water can be very damaging to plant roots.
The size of the container you use is based on the type of seed you are growing and how quickly you plan to transplant. Seeds like beans, peas and pumpkins have large roots and will outgrow a small cell in a seed tray very quickly. If you don't want to have to transplant to a larger pot right away, start with something bigger like a 4"-6" pot.

2) Seed Starting Mix
It is important to start your seeds in a sterile, light, seed starting mix. Our Organic Compressed Potting Soil is a great seed starting mix and what we use on our farm to start all our seeds. Bagged potting and raised bed mixes are too heavy and dense for seed starting, inhibiting germination and root growth.
Within the first 3 weeks of growth, its recommended to start adding fertilizer to your seedlings. Fertilization at this stage needs to be very gentle and mild as strong fertilizers can actually do harm to your seedlings. We recommend using an organic seed starter fertilizer.

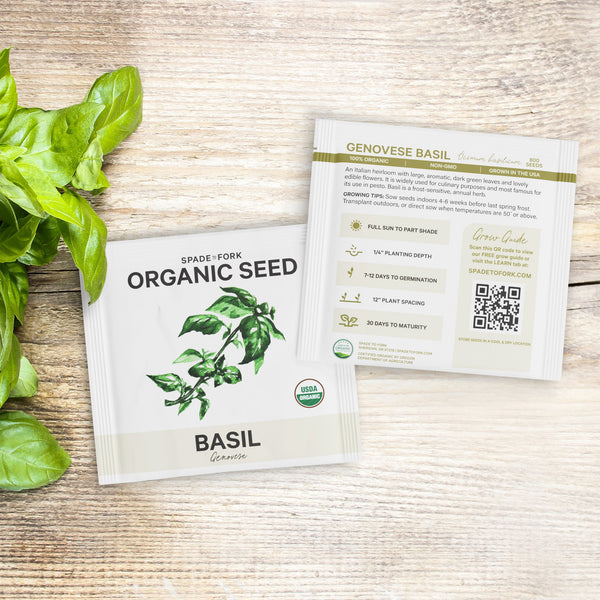
3) Seeds
Choose seeds varieties you want to try and that will do well in your climate. For instance if you live in a warm climate and wanted to grow cilantro, you should seek out a slow bolt variety (meaning it is slower than other varieties to flower and go to seed). Or if you live in a cold climate, find seed types that do well in cooler weather such as lettuces, kale, carrots and peas.

4) Labels
Stay organized by labeling your seed varieties as soon as you plant them. When you transplant your seedlings into your garden the label can be moved with the plants into the garden helping your keep track of what you are growing.

5) A light source
A sunny, south-facing window receiving 6-8 hours of sunlight per day, or a sunny greenhouse is perfect for growing seedlings. If you do not have a space that receives this much light, it is wise to supplement with a grow light. To learn more about grow light and choose which type would be best for you, check out our Guide To Using Grow Lights.

6) Air flow
A key ingredient to having strong, healthy seedlings is airflow. Good airflow prevents mold, disease and damping off (a fungal infection that young seedlings are susceptible to in damp conditions), it also strengthens stems making seedling more hardy for outdoor conditions. Placing a fan on low near your seedlings is a great way to increase airflow.
7) Heat
Most seeds germinate well with soil temperatures in the 65-75 degree fahrenheit range. Maintaining consistent temperatures is very important for good germination and early growth. Having temperatures too hot or too cold can be damaging or inhibit seedling growth. Make sure your growing space temperatures don't drastically change from daytime to evening. Additional heating may be needed at night to help maintain your soil temperature. Seeding heat mats are an efficient way to keep your soil warm. If you are growing in a greenhouse, watch out for high daytime temperatures. It may be necessary to add a shade cloth on your greenhouse if you live in a warm climate.
8) Water
Last but certainly not least is water! There is a happy medium that has to be reached when watering. Too much water causes a lack of oxygen, killing roots and harming overall health of your seedlings. Too little water will cause very poor germination. Aim for evenly moist soil, not wet. Make sure your containers have good drainage so pots are not sitting in water.
SOWING YOUR SEEDS
Now it's time to plant your seeds!
- Take your seed starting mix and moisten it (should feel about as wet as a wrung out sponge.
- Fill your container with soil, but do not pack down. You want to soil to stay light and fluffy.
- Read your seed packet to know the depth your seeds should be planted. Make small indents in the soil with a pencil, chopstick or something similar. The number of seeds you plant depends on the size of plant you are growing and the size of your container. In single cell containers I typically plant 3 small seeds per cell. For larger containers I'll plant more seeds. Once the seedlings have emerged, I'll thin the seedlings out to prevent overcrowding.
- Label your contains so you can keep track of what you planted. I like to add the date planted as well so I can keep track of how long it took to germinate and it helps me to figure out when I should transplant.

Take care of your seeds as they germinate and grow. When you are ready to transplant out to your garden space, check out our Transplanting Guide!
Happy Growing!