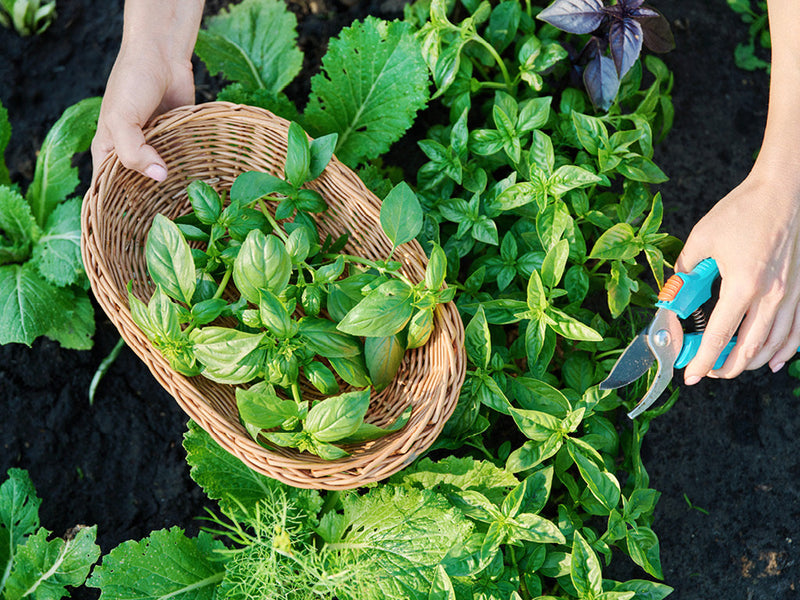
This remarkable perennial herb is compact and aromatic with evergreen leaves and delicate flowers. Thyme is a versatile plant that can flourish in containers, gardens, or on a sunny windowsill indoors. Once established, it is heat and frost-tolerant, making it a resilient and enduring addition to your garden.
Thyme's ease to grow and remarkable adaptability as a perennial herb makes it an excellent choice for any garden. In this guide, I'll walk you through the straightforward process of sowing thyme from seed, all the way through harvesting and preserving this culinary gem.
Thyme Varieties for Your Garden
Thyme has hundreds of varieties to explore both for culinary and ornamental uses. Here are a few personal favorites to consider:
Common Thyme (Thymus vulgaris): This classic culinary thyme stands at about 16 inches (40 cm) tall with gray-green leaves and charming white to lilac flowers. Its robust flavor is a kitchen essential.
French Thyme (Thymus v. ‘Narrowleaf French’): A variety of common thyme with slightly narrower leaves and a touch sweeter flavor, it stands at 12 inches (30 cm) in height and graces your garden with elegant white or purple blossoms.
Creeping Thyme (Thymus praecox): Ideal for containers, this variety features bright green leaves with a gentle scent primarily used for ornamental purposes, but is also edible. It maintains a compact 4-6 inches (10-15 cm) height and displays pink, purple or magenta flowers.
Lemon Thyme (Thymus x. citriodorus): If you crave a vibrant citrus twist in your dishes, lemon thyme is the choice for you. It stands at about 12 inches (30 cm) tall and is an excellent addition to your culinary repertoire.
How to Grow Thyme From Seed
Getting Started
Indoors: To give your thyme a head start on the growing season, consider planting seeds indoors. Sow seeds about 8 to 10 weeks before the final spring frost. Maintain an indoor temperature of 70-75 degrees fahrenheit for optimum germination.
- For seed trays, plant 3 seeds per cell
- For 4” starter pots, plant 8-10 seeds evenly spaced
- Leave seeds uncovered or barely covered (they need light to germinate)
- Keep soil consistently moist during germination
- Your seedlings should emerge in 14-28 days
Outdoors: If you prefer skipping the transplanting process and want to sow your thyme seeds directly outdoors, it's advisable to wait until one to two weeks after the last expected frost of the spring. Additionally, make sure that the soil temperature is consistently at least 68 degrees fahrenheit.
- For garden rows, plant 3 seeds every 6”.
- For containers, choose a pot that is at least 8” wide by 8” deep and plant 8-10 seeds evenly spaced.
- Leave seeds uncovered or barely covered (they need light to germinate)
- Keep soil consistently moist during germination
- Your seedlings should emerge in 14-28 days or slightly longer in cooler temperatures.
Temperature
Once your thyme has established itself, it will demonstrate impressive heat and frost resistance. However, during the crucial germination stage, maintaining a warm soil temperature, especially for outdoor thyme, is essential for successful growth. For outdoor seedlings and transplants, the soil temperature should be at least 68 degrees, but the ideal temperature for germination is 70 to 75 degrees.
Light
Thyme plants grow best in full sun (6-8 hours per day). For indoor growing, be sure to place your thyme plants in a sunny window or use a grow light. You can find more info about growing with grow lights in our article, Indoor Growing.

Water
In the early stages of development, thyme will require light watering on a daily basis or every other day. It's important to keep the soil evenly moist during germination, but it should never be soggy.
Once your thyme has firmly taken root and is well-established, you can reduce your watering frequency significantly. Only water when you observe the soil starting to dry out, as watering thyme when the soil is still moist can harm the plant. Depending on your local climate, you may find that established thyme requires watering only once or twice a month.
Thyme possesses remarkable hardiness and drought resistance. It's generally better to err on the side of waiting a day or two too long before watering rather than rushing to water too soon, as thyme can endure brief periods of dryness without issue.
Hardening Off Seedlings Prior to Transplant
It's important to harden off your seedlings before transplanting them outdoors if you started them indoors. Hardening off is the process of moving plants outdoors for part of each day to gradually introduce them to direct sunlight, dry or moist air, and cooler nights.
You should harden off your herbs over the course of 1 week, gradually increasing their time spent outdoors each day. If possible, select a transplant day that is overcast, and plan to move your herbs in the early morning to avoid the harsh midday sun.
In most cases, your thyme seedlings will be ready to transplant about 8-10 weeks after planting or when they have grown to approximately 2-4 inches above the top of the pot rim. Therefore, make sure you start to harden them off early enough to fit this window.
Preparing Seedlings for Transplant
Regardless of where you transfer your thyme seedlings, it's important to prepare them for the impending move. To do this, water your seedlings about 2 hours before you plan to transplant them. Watering makes your plants stronger and more resilient for the move, and it also moistens and loosens the soil so it can break apart easily, which is very important.
- Transferring Thyme to Pots
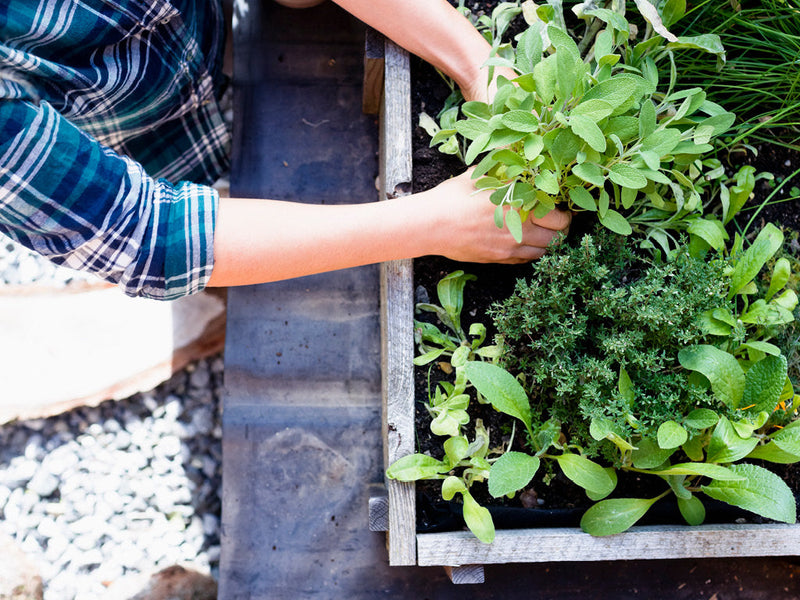
If you started your seeds in starter pots or seed trays and it's time to transplant them to larger pots, it's important to do so with care. Transfer your plant to a pot that is at least 8" deep, and wide, and make sure it has good drainage holes, as your growing herbs don’t like “wet feet.”
- Transferring Thyme to a Garden Bed
If you're transferring your thyme to an outdoor garden bed, wait for one to two weeks until after the last spring frost. You should then space your thyme plants 8" apart and place them in well-draining soil that isn't too rich.
Fertilizing
Thyme doesn't demand heavy feeding. To give your plants a nutritional boost, consider using a balanced organic fertilizer like our Organic All-Purpose Fertilizer. Apply it when you transplant your seedlings and periodically throughout the growing season.
Pruning and Harvesting
Proper pruning encourages growth and makes for a healthier, fuller plant. Make the most of your thyme by pruning and harvesting with the steps below.
- It is recommended to lightly prune your thyme plant in its first year. This allows the plant to establish good roots and a solid frame.
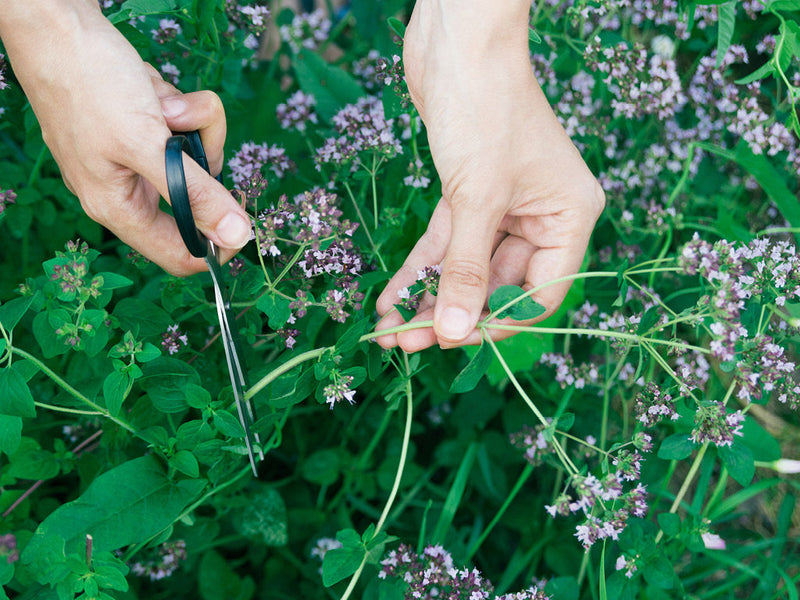
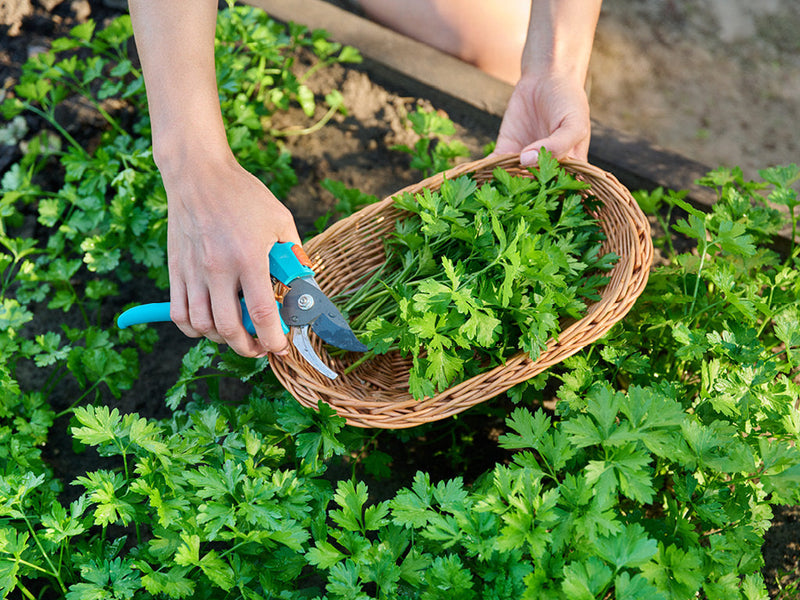
- Once thyme is 8–10 inches, cut the top leaves back, leaving at least 5 inches of growth on the plant. When harvesting, only remove the fresh, green stems leaving the tough, woody part of the stems behind to encourage new growth.
- Thyme reaches its best flavor just before the plant flowers. Once the plant begins to flower, it can still be used but expect a milder flavor.
Pests and Diseases to Watch Out For
In terms of strength and durability, thyme is a great herb to plant. It's very drought-resistant and flourishes in warm weather. However, it can be affected by certain pests and diseases.
Common Thyme Pests
You can use this same method for dealing with mealybugs and spider mites, which are two other common thyme pests.
Common Thyme Diseases
Root Rot: Because of how sensitive thyme is to excessive moisture, root rot is a fairly common problem. If your thyme has root rot, the leaves will turn brown and start to droop or wilt. If you catch root rot early enough, you can reverse the damage by simply cutting back on watering and letting the plant dry out a bit. If this doesn't work, you can also pull the plant up by the roots and cut off any sections that look damaged.
Excess Nitrogen: Another potential issue with your thyme is that it can get too much nitrogen in the soil. When this happens, the leaves will turn yellow, and your plant will start to die. If this starts to happen, you should test the nitrogen levels of your soil and replant your thyme if necessary.
Old Age: If your thyme has been around for four to six years and you notice that the leaves are excessively dry for no particular reason, it's time to replace your thyme.
Thyme Storage and Preservation
You have several options if you want to store thyme for future use, but drying is the recommended method. Here's how to properly dry and store your thyme.
- Cut off stems that are at least 4-6" long.
- Bundle these together with twine and hang to dry for approximately 1 week.
- Once dry, remove leaves from the stem and store in an airtight container at room temperature.
- Dried thyme will last 1-3 years.

Good Companion Plants For Thyme
Thyme can be a valuable ally in your garden when strategically paired with other plants. With companion planting you can create a harmonious ecosystem in your garden. Here are a few plants that greatly benefit by being planting near thyme.
Now is the Thyme!
I hope you've found this grow guide helpful and are inspired to grow your own thyme from seed! Don't hesitate to reach out with any questions or insights you may have. May your herb garden flourish with fragrant and flavorful delights!
Happy Growing!
![]()


