The method of gardening we prefer to use in our garden plots is the no-dig/no-till method. This method has been proven to protect the soil from erosion and keep it biologically active giving you healthier plants and fewer weeds. This method does not involve traditional tilling and working of the soil, but preserves the structure of the soil building up the fertility and health by top dressing with quality compost and amendments. You will find that your garden plot takes far less work to maintain and your crop yield will be better as a result.
LOCATION
The first step in creating an outdoor garden is choosing a location. Below are a few important tips to helping you choose a location:
-Close proximity to home. Gardens need regular care and attendance so its best to put them in a close location that is easy to access and visit.
-Not near trees and hedges. Trees and large hedges draw moisture from the soil and create shade. It’s best to have an area for your garden where it will not be competing for water and sunlight.
-6-10 hours of sunlight. Be sure the location you choose is not shaded by buildings and trees. Some shade is okay, but you’ll want your garden to be able to receive at least 6 hours of sunlight per day.
-Access to water. Regular watering is necessary during dry weather.
-Free from harmful pesticides and herbicides. If an area has been sprayed or treated with pesticides and herbicides, the soil life will have been effected and your garden won't grow as well.
MAPPING OUT YOUR GARDEN
Once you have a location in mind, it's time to map out where the garden will be situated. It's helpful to mark out the size and shape using string and stakes. It’s important to design your space so that you can easily access your crops without needing to walk on your growing area. Garden rows should be no wider than 4 feet for this reason. Plan on having paths through your garden area wide enough to easily walk and kneel.
PREPARING THE SOIL
-In your staked out location, clear the surface of rocks and debris.
-Cut weeds down to the soil level and/or mow any grass that is present. Pull/dig out any thick, woody stems, disturbing the soil as little as possible.

-Lay out cardboard thickly over the entire area. Make sure the cardboard overlaps so that none of the ground is exposed to light. This cardboard barrier is there to help kill off the grass and weeds below, and to do so must block light. If your garden location is mainly dirt with little to no weeds or grass, you can skip laying down cardboard.
(Note: use brown cardboard, not shiny, colored cardboard and be sure it is free of tape and staples.)
-Lay 4-6 inches of compost or a mix of healthy soil and compost on the growing area. It’s beneficial to lay wood rails or posts around the edges of your garden plot to keep shape and the compost depth even throughout the whole bed. These edges can be removed once the compost settles in more and become firmer.
SOIL AND WEEDS
Below the cardboard and compost the weeds and grass are beginning to die back as they are left without light. The cardboard and compost, besides blocking light, are feeding the soil and improving the biological fertility.
Some perennial weeds (meaning growing for more than one year) may surface through your bed and its important to quickly remove them. If weeds are quickly removed when they surface their vigor and strength will demising quickly.
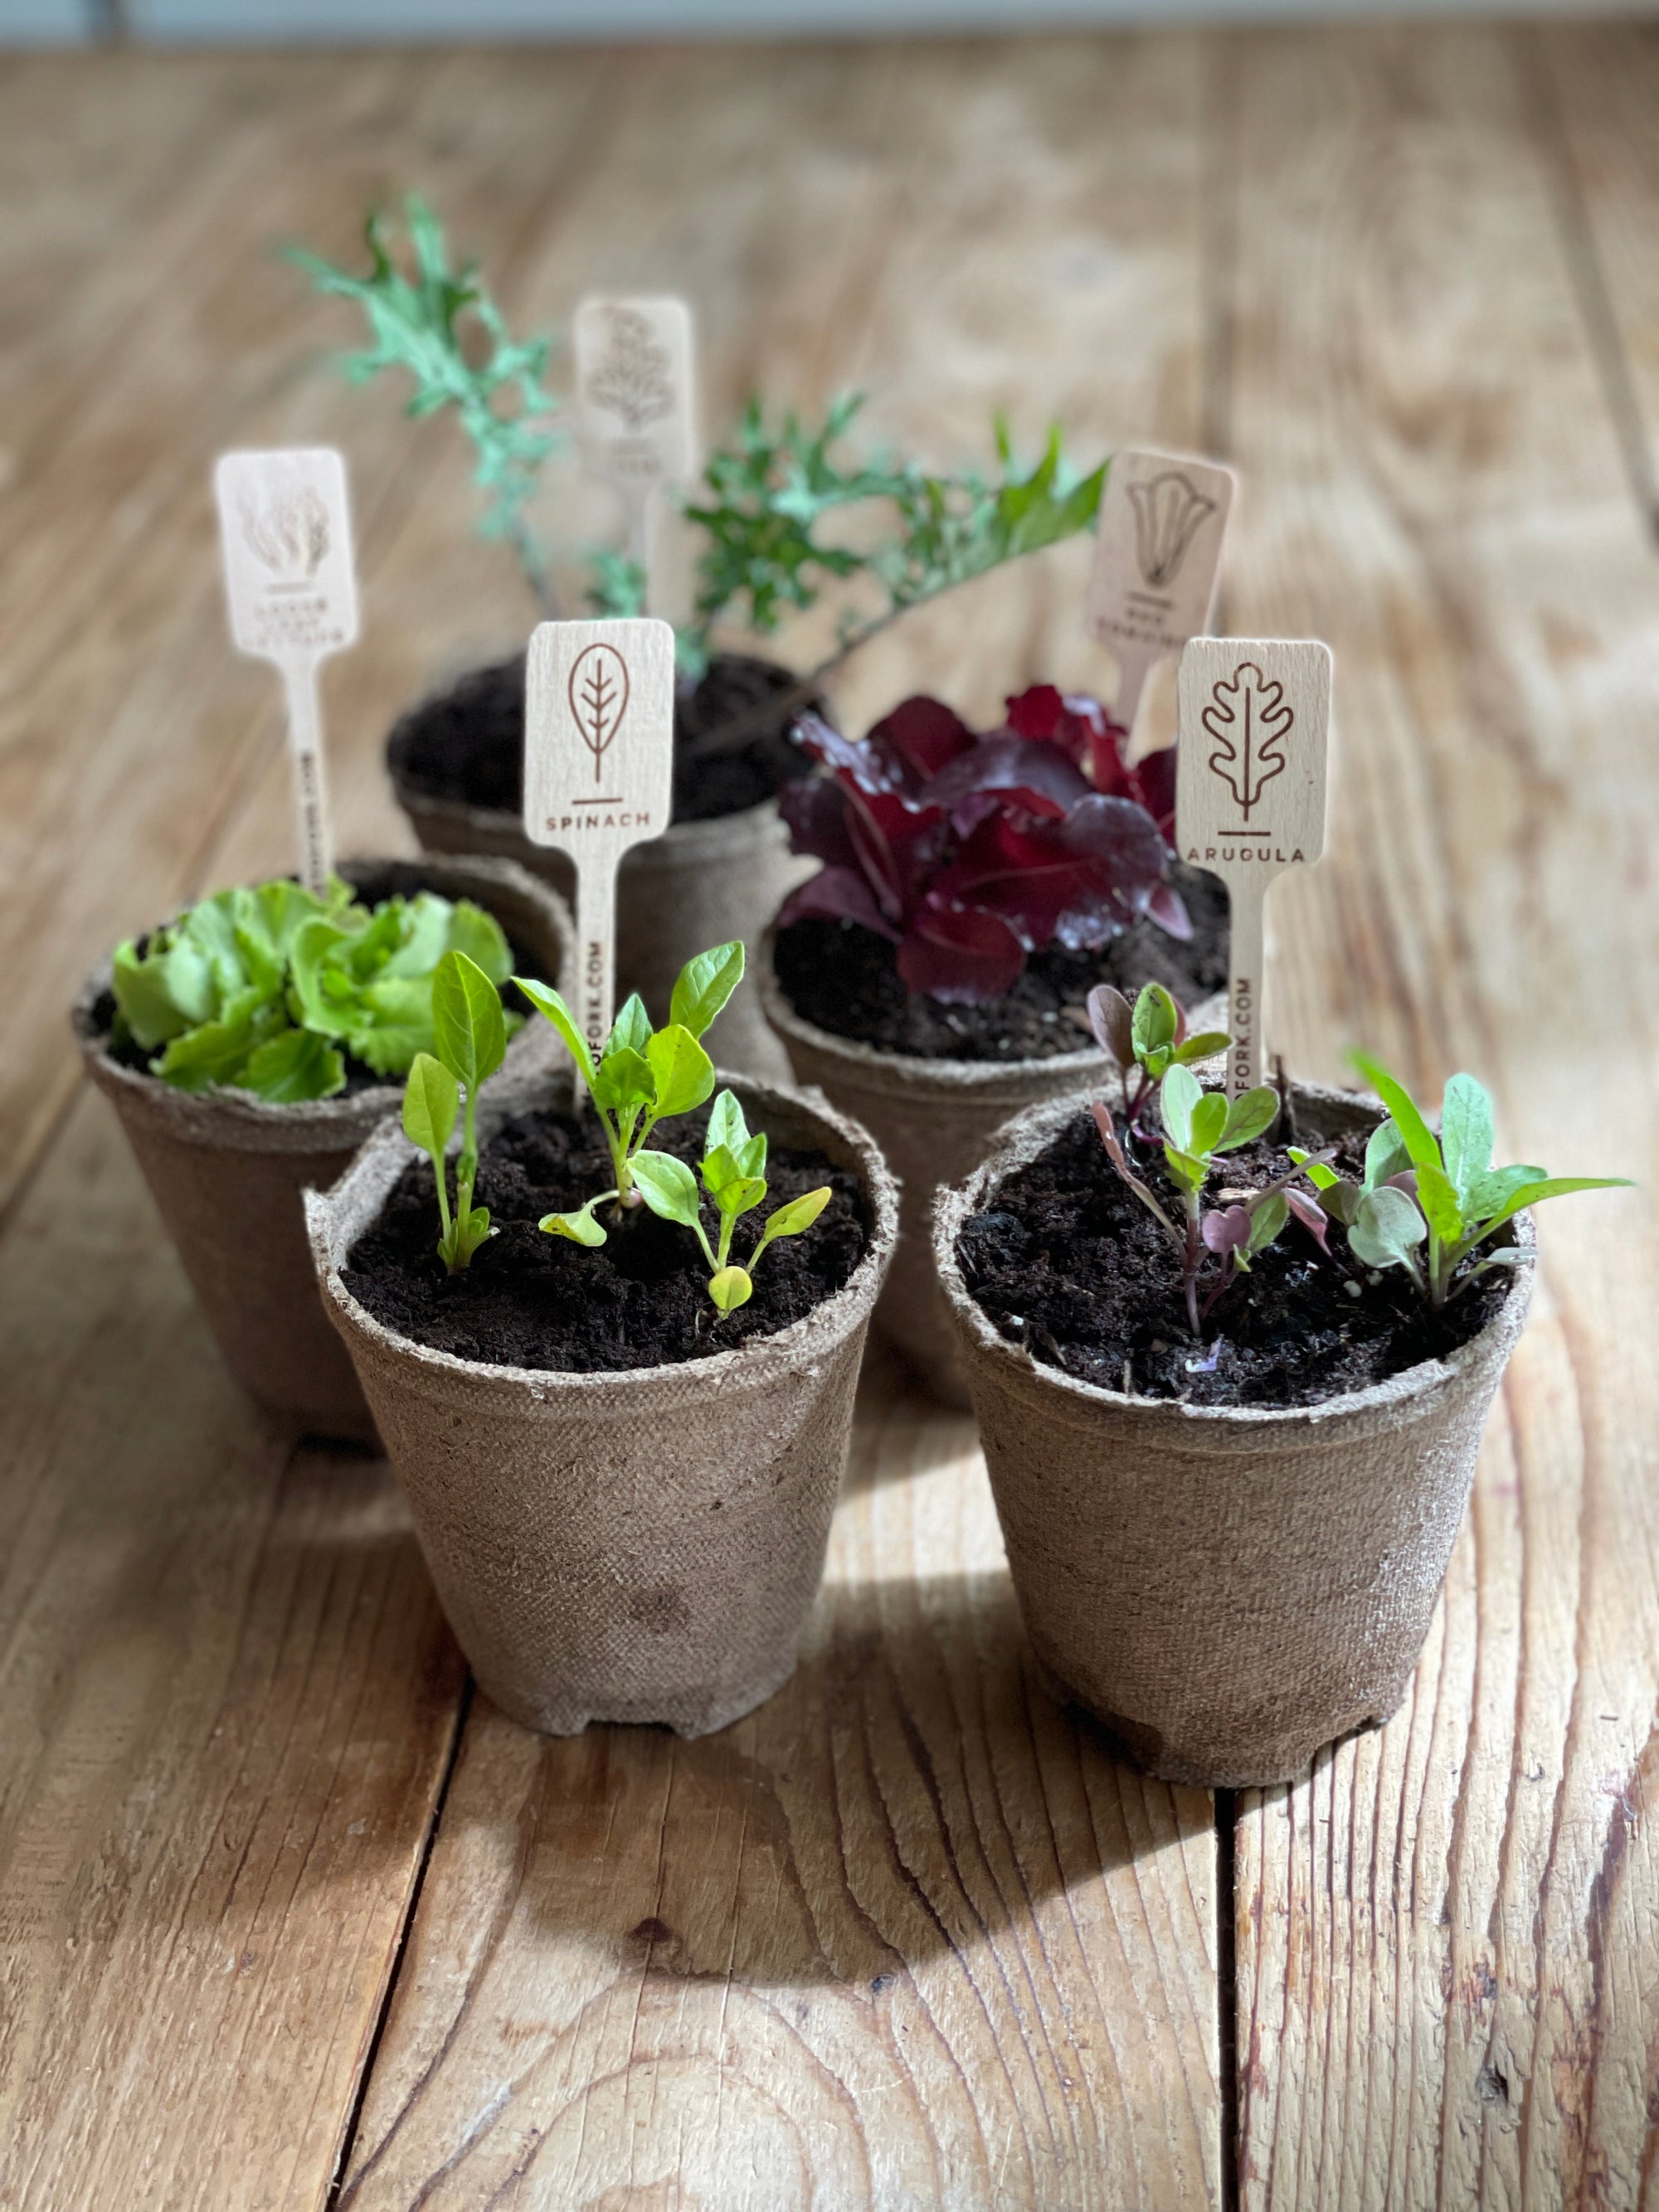
PLANTING
Once the compost has been laid over the cardboard your garden plot is ready to plant. Plant seedlings directly into the compost. The cardboard will decompose in time for plant roots to reach further into the soil as they grow. Keep your garden well planted through out the growing season.
END OF GROWING SEASON
At the end of a plants life, remove the above ground part of the plant leaving the roots to decompose in the soil. The exception would be any root vegetables in which the whole plant is uprooted, such as carrots, potatoes and parsnip.
Put an addition 1 inch layer of compost over the beds to sit over winter. This will continue to feed the soil and will help to keep weeds at bay.
THE SECOND SEASON OF GROWING
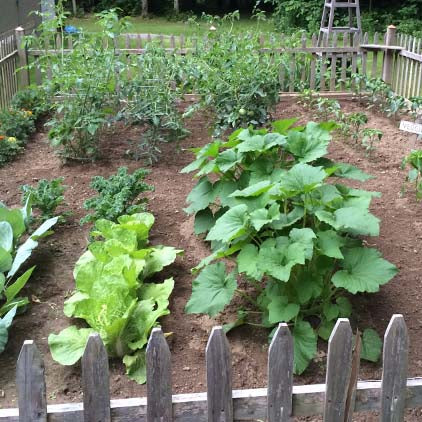
Your beds are ready to plant straight into as soon as the new growing season begins. The beds are healthy and biologically active. The compost that was put on the beds at the end of last growing season has fed the soil organisms which in turn have improved your soils health and structure. The second season and each subsequent season of growing you will see marked improvement and health in your plants. This is simply achieved by leaving your beds undug and laying compost on them yearly.