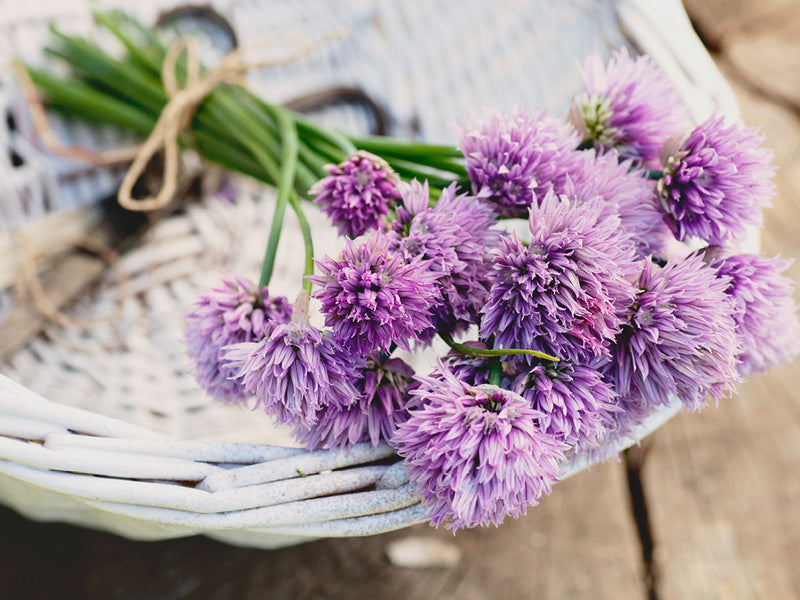
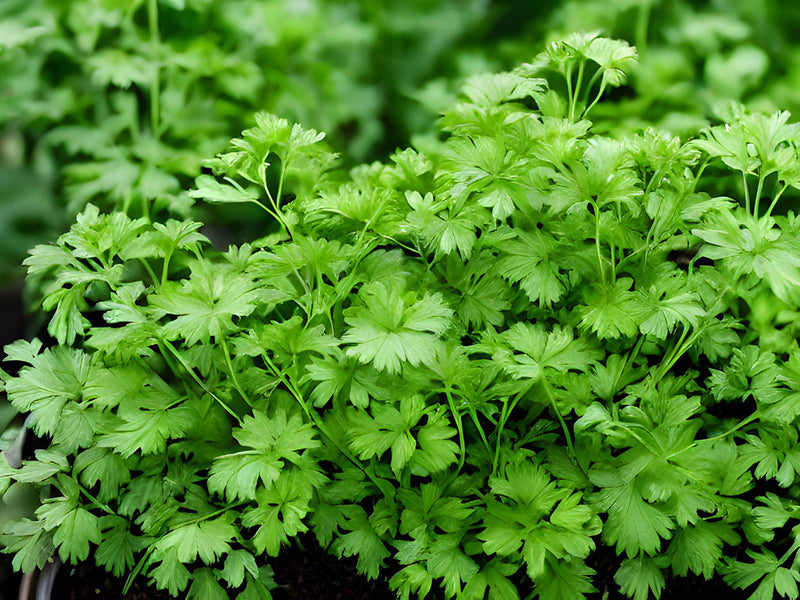
Mint is one of those herbs that seems almost too easy to grow—and that’s exactly why gardeners love it and fear it. With its refreshing scent, lovely green leaves, and ability to grow just about anywhere, mint is a must-have herb. But make no mistake: this little plant is wildly enthusiastic and needs a bit of wrangling. In this guide, I’ll walk you through exactly how to grow mint the right way, from choosing the right container to harvesting, drying for later, and even how to make your own tea.
Why You Must Grow Mint in Containers
Let’s get this out of the way right up front: mint will take over your garden if you plant it directly in the ground. Its underground runners spread fast and far, crowding out nearby plants. That’s why I strongly recommend growing mint in containers or raised beds with barriers. You’ll still get a lush, productive plant—but you’ll keep the rest of your garden safe!

Container Tips:
-
Use a pot that’s at least 8" deep with good drainage.
-
Keep containers on patios, decks, or even sunk into the ground (pot and all) to control spread.
-
Water regularly—container-grown mint dries out faster than in-ground plants.
How to Start Mint
Mint really thrives when planted in the spring, giving you lush growth all summer long. For an early start, you can sow seeds indoors before your last expected frost. Or, wait until the danger of frost has passed and plant directly in the garden—mint is happy either way. Additionally, mint can be easily propagated from cuttings, which is a simple method to expand your garden or share with friends.
From Seeds:
-
Start your organic mint seeds indoors as early as 4–6 weeks before your last frost date.
-
OR, alternatively, sow mint seeds directly into a container or raised bed outside once the danger of frost has passed for your area.
-
Plant seeds 1/4" deep in moist, well-draining soil. Make sure to keep soil evenly moist (but not wet) during germination.
-
Germination takes 7–14 days.
From Cuttings:
-
Snip a 4–6" piece from an established plant.
-
Place in water until roots develop (usually within 1–2 weeks).
-
Transplant into soil when roots are 1" long.
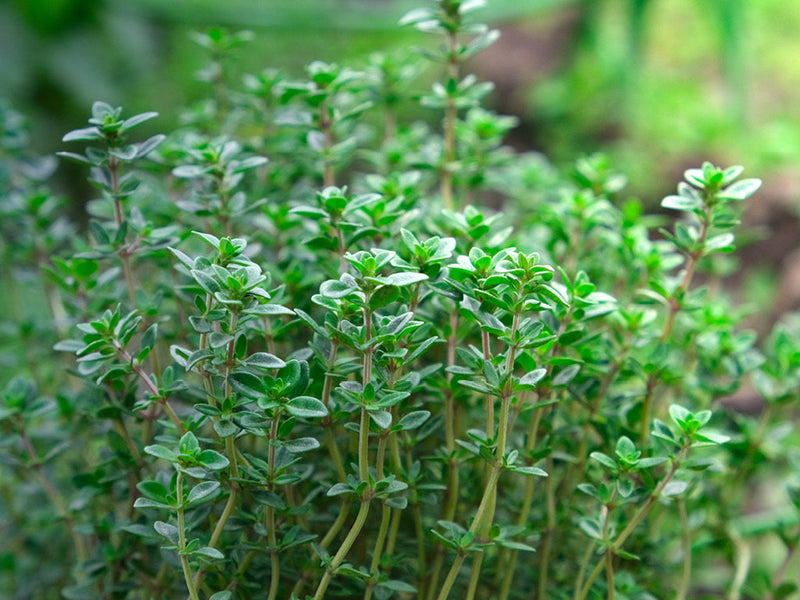
Mint’s Favorite Growing Conditions
Planting Location: Choose a spot with partial to full sun, although mint can tolerate shade. A location that gets 4–6 hours of sunlight daily is ideal.
Soil and Moisture Needs: Mint thrives in moist, well-drained soil rich in organic matter. Water regularly, especially during hot, dry periods. Keep soil consistently moist but not soggy. Potted mint will require more frequent watering than ground-planted mint, so keep an eye on moisture levels.
Temperature: Mint prefers mild to warm temperatures but can withstand cooler conditions. Mint will survive in USDA hardiness zones 3-9, however, it is better to protect it from harsh frost especially for potted mint plants.
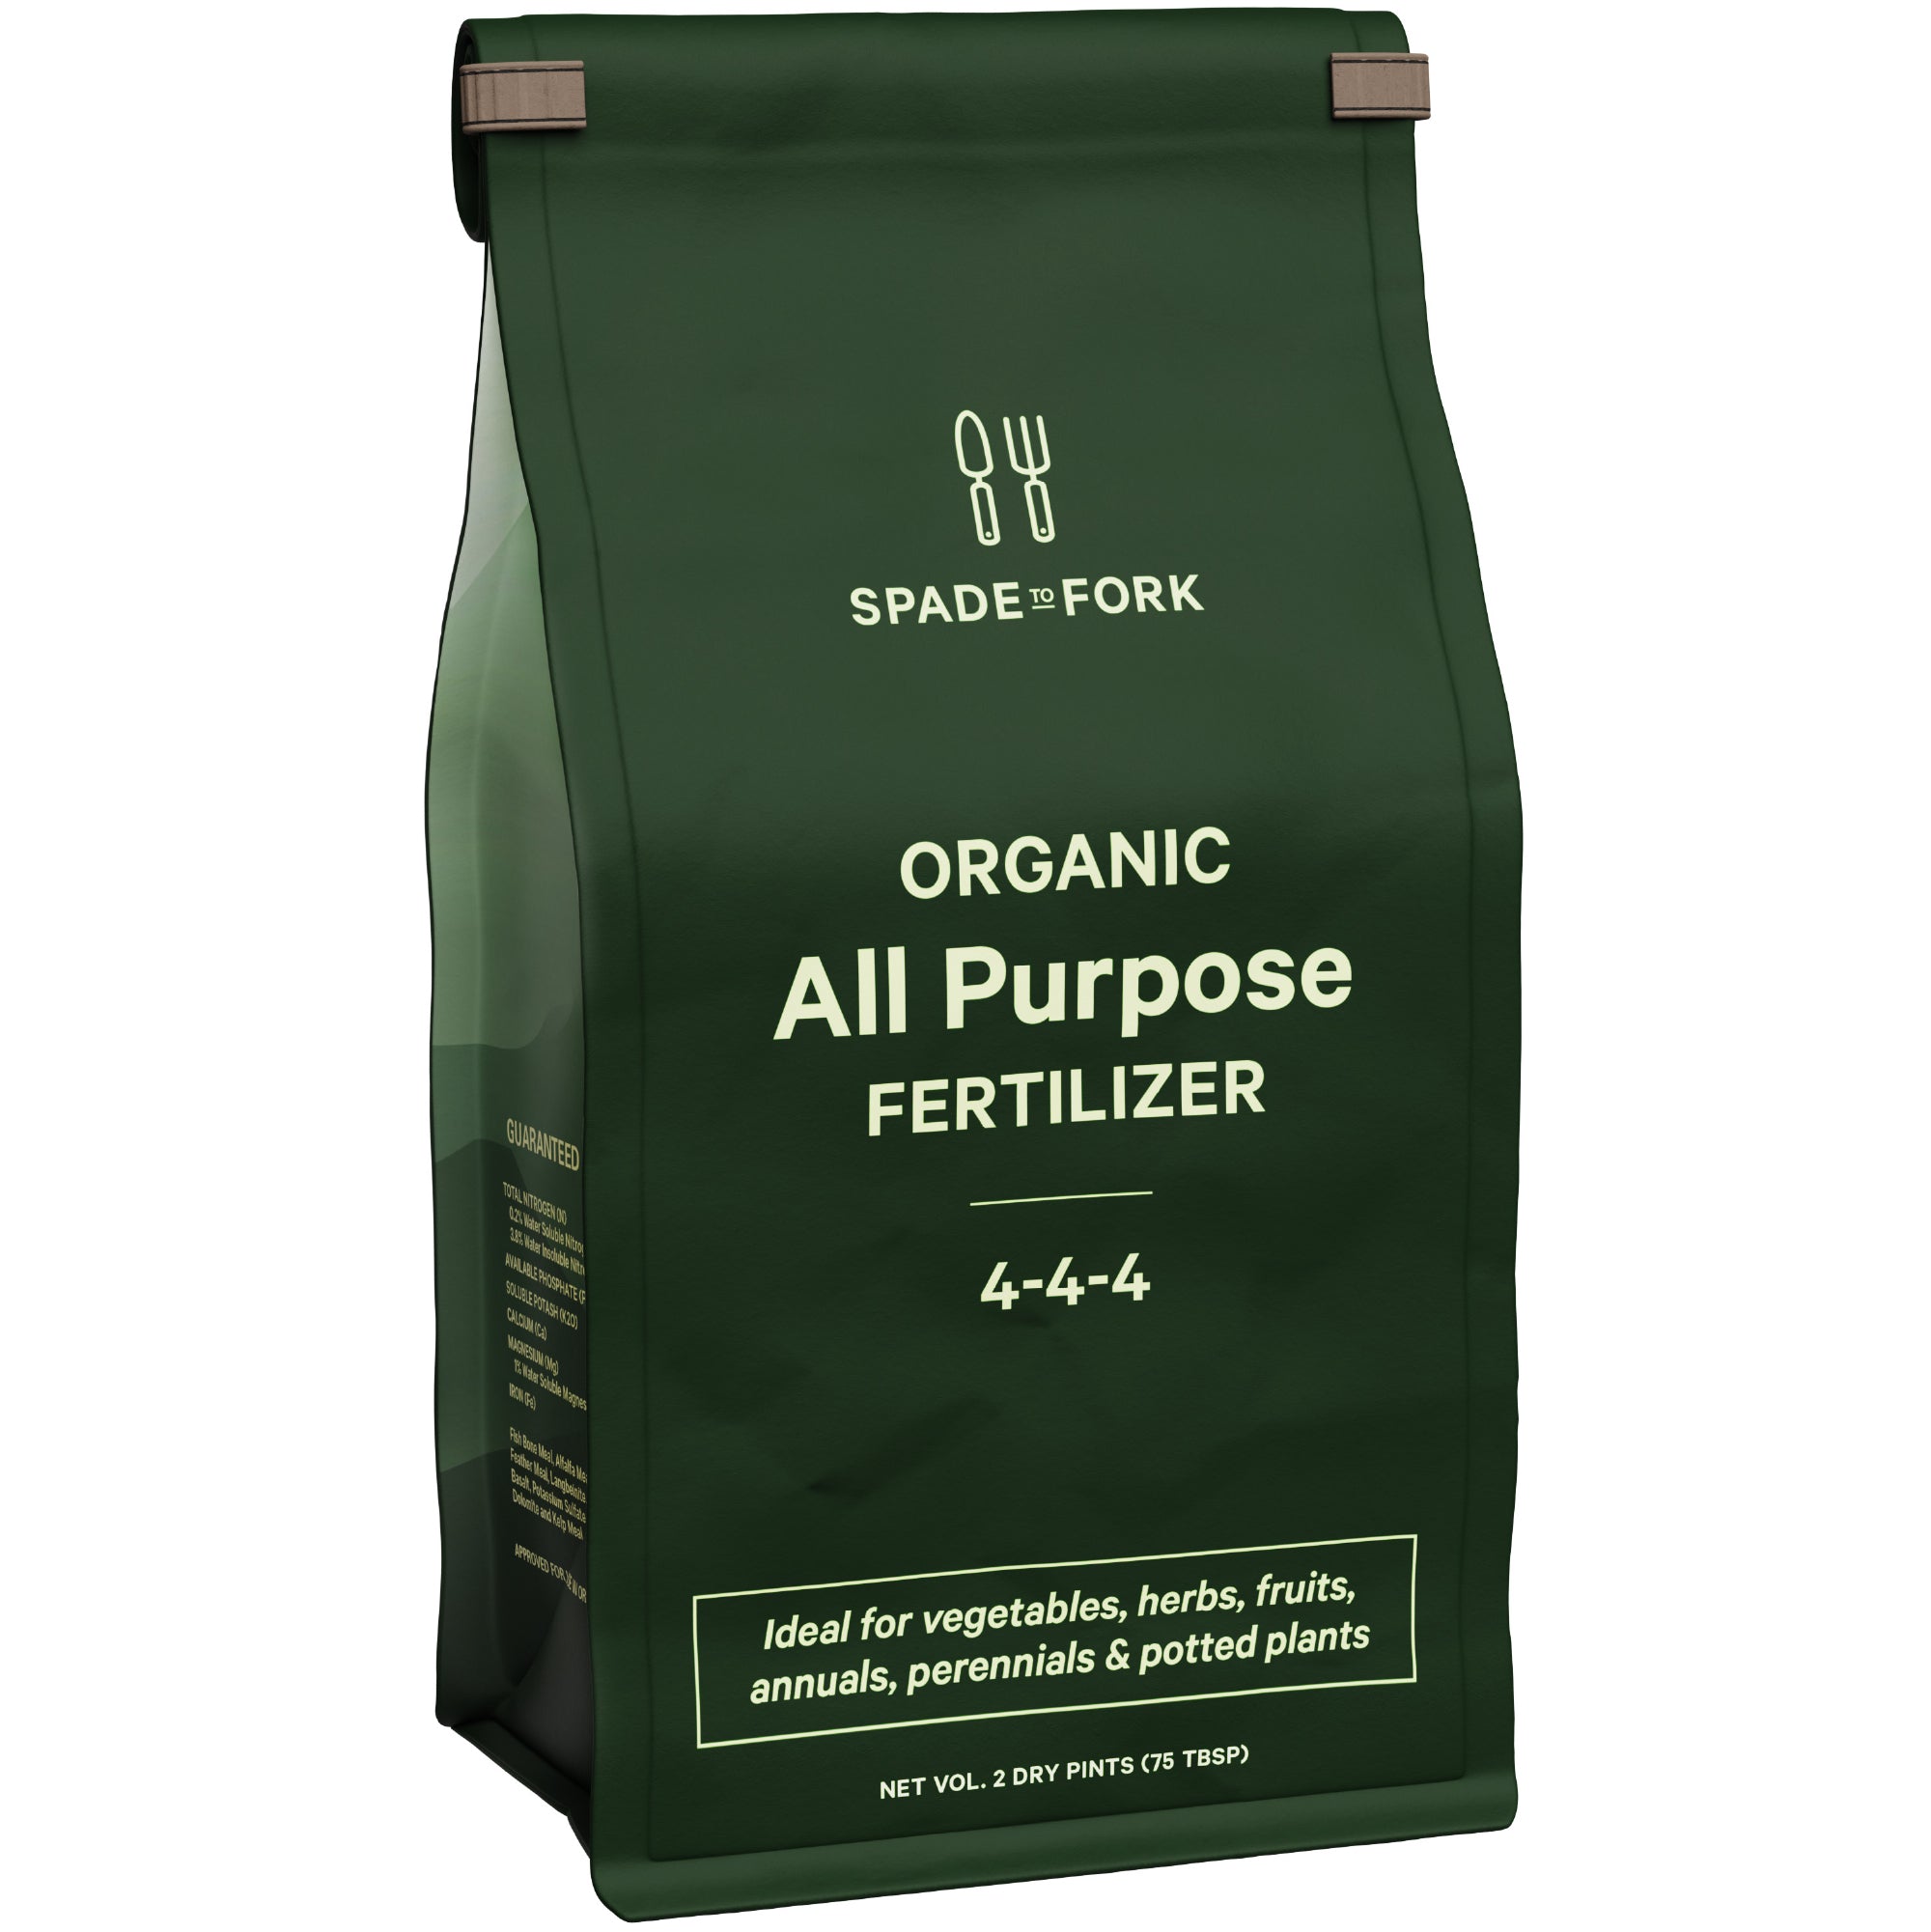
Mulch & Fertilization: Add mulch around the base (in containers or beds) to retain moisture and reduce weeds. Mint doesn’t need much fertilizer—just a light application of all-purpose fertilizer in spring is usually plenty.
Pruning & Keeping Your Mint in Check
Pruning encourages bushier growth, enhances flavor, and prevents the plant from becoming leggy or overgrown. It’s an important step in maintaining a healthy and manageable plant.

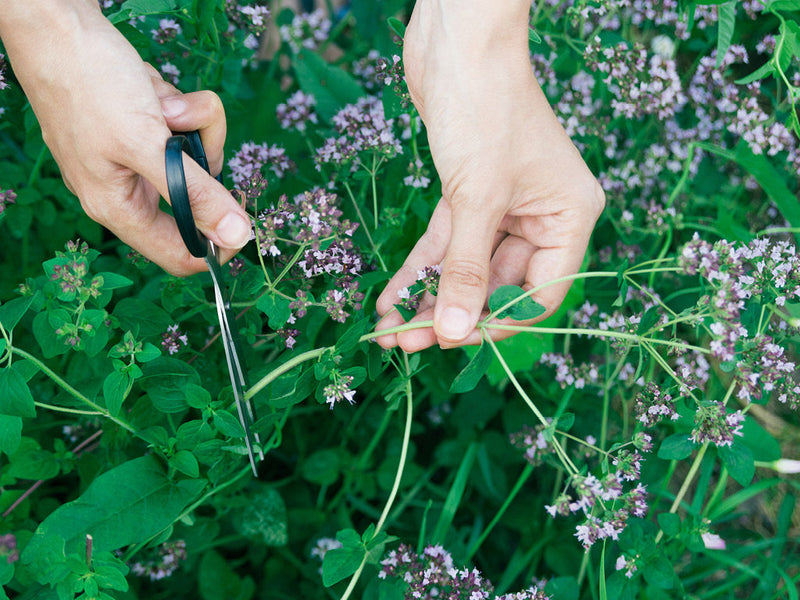
How to Prune
Pinch or snip stems just above a pair of leaves. Regular pruning not only helps maintain vigor but also encourages bushy growth. Note: allowing the plant to go to flower will reduce leaf quality and production, however flowers provide pollen and nectar to butterflies, bees and other beneficial pollinators.
Twice a year, in early spring and late summer, give your mint a deep trim to refresh growth and rejuvenate the plant. Cut back up to ⅓ of the plant, but not more. This is the perfect time to harvest and dry your mint leaves for storage which I'll cover more later in this guide.
Controlling Spread
To prevent mint from overtaking your garden, plant it in containers or confined spaces. If you’re planting mint in the ground, you’ll need to keep a close eye on it—this herb loves to spread and won’t hesitate to take over. To keep it in check, consider sinking a pot into the soil or installing a root barrier to contain those sneaky underground runners. Even with a barrier, it’s smart to trim back any escapees regularly. A little effort goes a long way to keeping mint where it belongs—lush, thriving, and not invading your vegetable garden.
Common Mint Issues & How to Avoid Them
Mint is hardy but not invincible. Here are a few problems you might run into.
Diseases
Mint Rust: Orange spots on leaves. If your plant becomes infected with mint rust, remove and destroy the affected leaves, and replant the roots in fresh soil.
Powdery Mildew: White film on leaves. Improve airflow and avoid overhead watering.
Verticillium Wilt: Yellowing, wilting leaves. Remove affected plants.
Prevention
-
Watering at the base (not over leaves). Overhead watering can increase the risk of fungal infections by leaving foliage wet.
-
To prevent diseases like rust, thin out dense patches of mint to improve air circulation around the plants.
-
Remove any dead or diseased stems and leaves before winter to minimize disease spread.
Companion Planting With Mint
Mint can be a wonderful garden ally when it’s kept in its own space. Its strong, refreshing scent doesn’t just smell great—it also helps confuse and deter common pests like aphids, carrot root flies, and cabbage moths. Plus, it draws in pollinators, making it a win-win for nearby plants.
To enjoy these benefits without risking a mint takeover, grow mint in its own container and place it close to the plants you want to protect.
Great Companion Pairings
Mint pairs well with vegetables like tomatoes, cabbage, peppers, carrots, beets, lettuce, and squash as well as herbs like parsley and oregano. Its pest-repelling powers help keep your crops healthy and thriving. Roses also benefit from mint’s presence—especially when it comes to deterring aphids and encouraging beneficial insects.
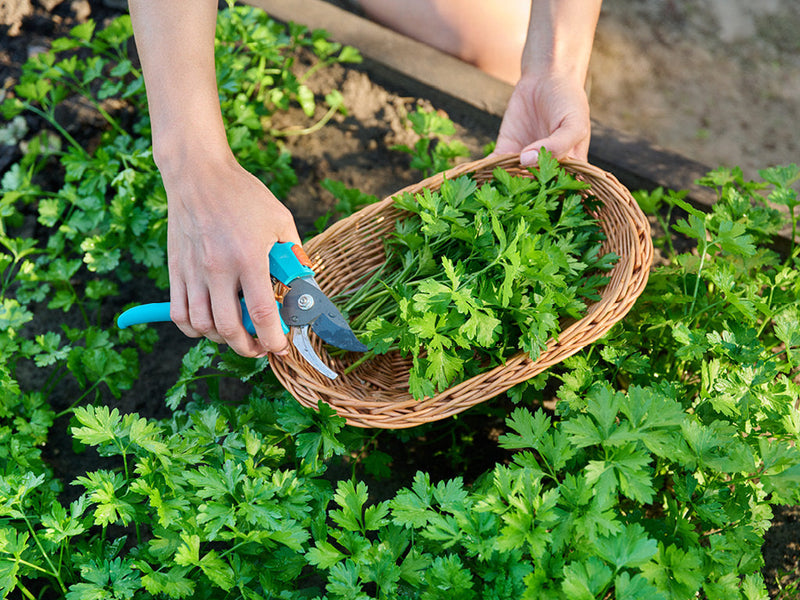
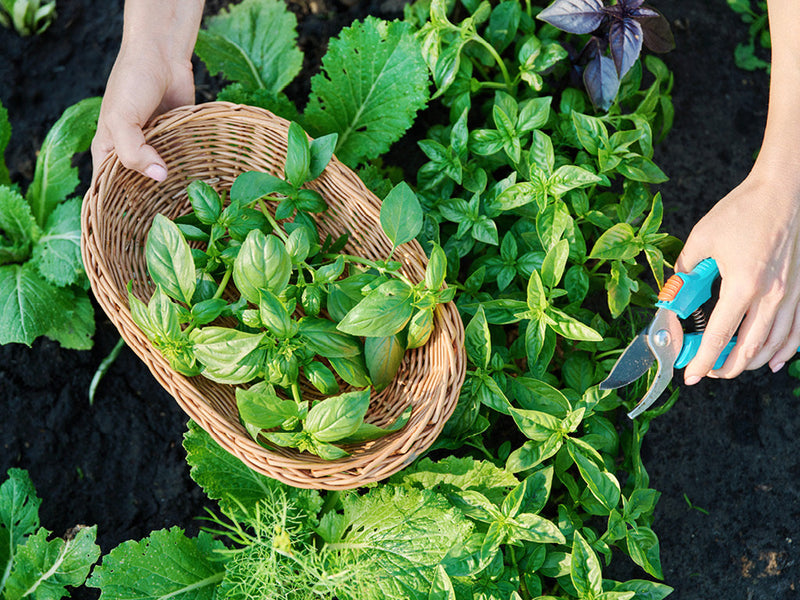
Harvesting and Storing Mint
To get the most out of your mint, timing and technique matter. Harvesting at the right moment preserves flavor, encourages fresh growth, and sets you up with plenty to dry or freeze for later use—hello, mint tea all year long!
When to Harvest
The best time to harvest mint is early in the morning, just after the dew has dried but before the sun gets hot. Aim to pick mint before it flowers, when its oils—and flavor—are at their peak.
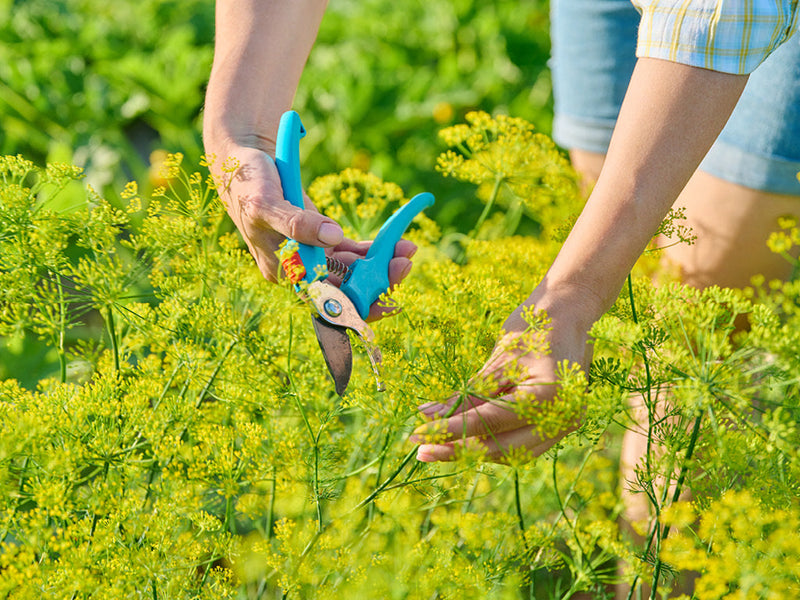
How to Harvest
-
Use clean, sharp scissors or shears.
-
Snip stems just above a leaf node to encourage bushy regrowth.
-
You can harvest mint regularly throughout the season. For bigger harvests, cut back up to two-thirds of the plant in early spring and again in late summer to give it a healthy reset.
Keeping Mint Fresh
Short-Term Storage: Pop fresh-cut stems into a glass of water (like a herb bouquet!) and keep them in the fridge. Change the water every couple of days to keep them perky and aromatic.
Freezing: Chop or leave leaves whole and freeze them in ice cube trays with water or oil. These mint cubes are perfect for tossing into drinks or sautés.

How to Dry Mint
Preserve your mint for year-round use with one of these easy drying methods.
Air Drying: Bundle stems with twine and hang them upside down, or lay mint leaves flat on a mesh screen. Place in a dry, dark, and well-ventilated area until the leaves are crisp and fully dry (about 1-2 weeks).
Oven Drying: Lay mint leaves flat on a baking sheet and dry at 180°F for 2–3 hours or until crumbly.
Dehydrator: Use your dehydrator’s herb setting, and follow the manual instructions.
Once dry, crumble the leaves (or leave them whole) and store them in an airtight container away from heat and sunlight. Dried mint can hold its flavor for up to a year when stored properly.
Tea Time!
There’s nothing quite like a cup of fresh, homegrown mint tea—cooling, calming, and wonderfully aromatic. Mint tea is simple to make and full of flavor.
How to Brew:
-
Add 1–2 teaspoons of dried mint leaves (or a small handful of fresh leaves) to a cup of hot water.
-
Cover your cup or teapot while it steeps—this helps trap the essential oils for maximum flavor.
-
Let it steep for 5–7 minutes, then strain and sip.
-
Serve it hot. OR, you can brew a stronger batch, let it cool, then pour over ice with a splash of lemon or drizzle of honey.
Serve It Up:
-
Hot: Perfect for soothing an upset stomach or relaxing before bed.
-
Iced: Brew a stronger batch, let it cool, then pour over ice with a splash of lemon or a drizzle of honey for a refreshing twist.
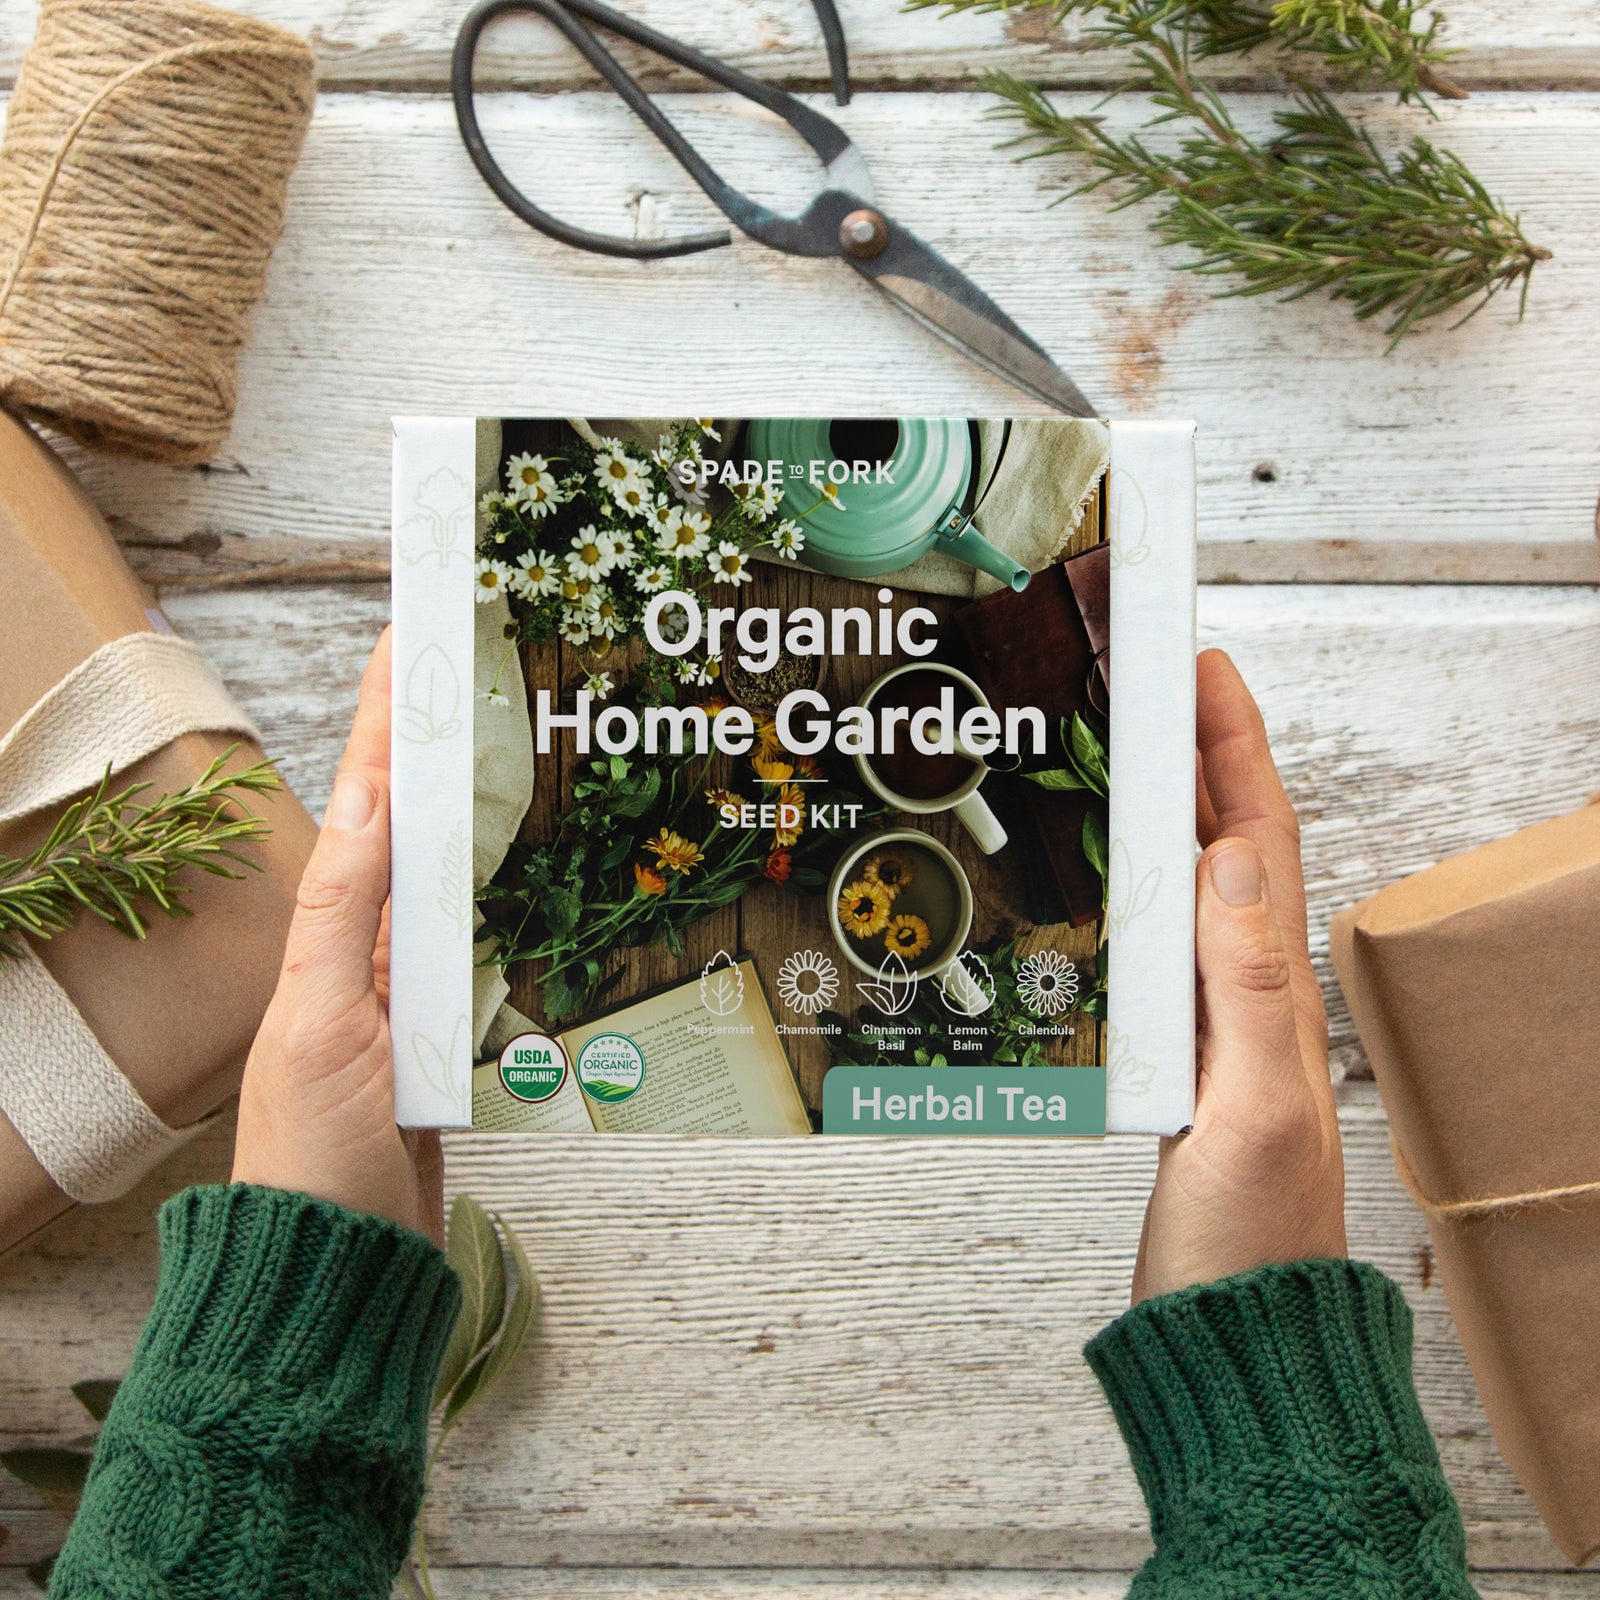
Want to grow your own herbal tea garden? Our Organic Herbal Tea Seed Kit makes it easy to start your own garden of homegrown teas. It comes with everything you need—organic seeds for mint, chamomile, lemon balm, cinnamon basil, and calendula, along with biodegradable pots, plant markers, organic soil, and a stainless steel tea strainer. Plus, our step-by-step instructions guide you through the entire growing process, so it’s simple, fun, and beginner-friendly.
Final Thoughts
Mint is one of those generous plants that gives so much and asks for very little—just a bit of space (in a pot!), regular watering, and the occasional trim. It’s a staple in our garden and in our home, and one we’ll always keep close by. We use it fresh and dried throughout the year in teas, and our other plants benefit from its natural pest-deterring scent.
Just remember: friends don’t let friends plant mint directly in the ground.
Happy growing,