If you’re looking for a reliable crop that doesn’t take up much space, delivers a big harvest, and stores well—carrots are it. These humble roots are packed with flavor, easy to grow with the right setup, and perfect for succession planting throughout the season. In this guide, I’ll cover everything from choosing a variety to preventing common issues and knowing just when to harvest.
Choosing the Right Variety
Carrots come in a range of shapes, sizes, and colors—from classic orange to deep purple and even yellow or white. Some grow long and slender, while others are short and stubby (great for shallow soils or containers).

Popular Home Garden Varieties:
-
Nantes: Sweet, crisp, and cylindrical—great for beginners.
-
Danvers: Tapered roots that perform well in heavy soil.
-
Chantenay: Short and wide—ideal for raised beds or less-than-perfect soil.
-
Paris Market: Small, round carrots perfect for containers.
Colorful Varieties:
-
Cosmic Purple: Deep purple skin, with orange flesh.
-
Atomic Red: A bright red color that gets deeper when cooked.
-
Lunar White: A pure white heirloom variety that is very mild and delicious.
When and How to Plant Carrots
When to Plant:
Carrots thrive in cool weather, but with a few smart strategies, you can grow them almost year-round:
-
Early spring: Sow seeds 2–3 weeks before your last frost for a spring harvest.
-
Succession planting: To enjoy carrots all season, sow new rows every 2–3 weeks from spring through mid-summer (late July), planting short and stubby varieties that mature in just 50–60 days.
-
Late summer/fall: In mild zones, sow again about 10–12 weeks before your first hard frost.
-
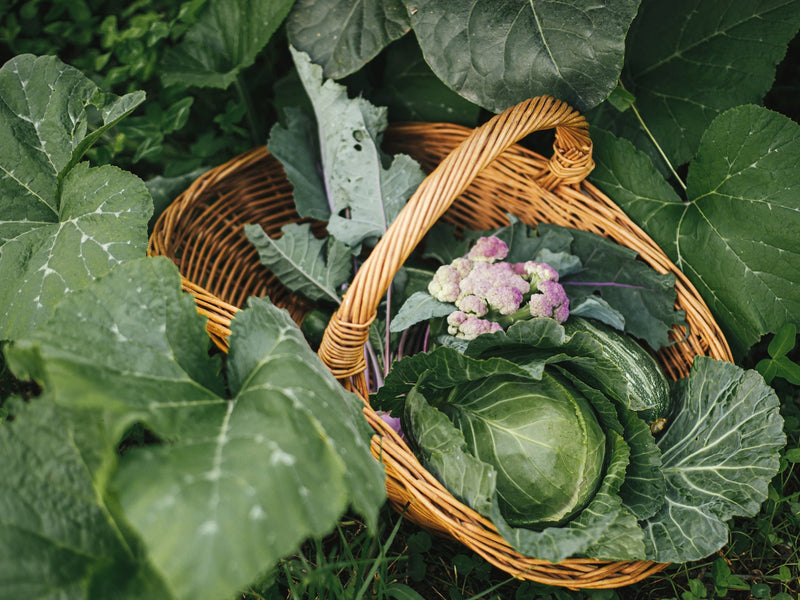
Warm Weather Tip: In late spring through summer, interplant carrots with taller crops like tomatoes or leafy greens—they shade the soil and keep it cool, improving flavor and germination.
Soil and Bed Prep:
Before planting, it’s worth spending a little time preparing your soil—because great carrots start underground. Carrots need loose, deep, and stone-free soil to grow straight and smooth. If your soil is compacted or rocky, your roots will twist, fork, or grow stubby. Taking the time to prep your beds properly sets your crop up for success and makes the entire growing process easier and more productive.
-
Amend heavy clay soil with sand and aged compost.
-
Clear out all rocks, clods, or debris—these are the enemy of nice, straight carrots.
-
Add a balanced organic all purpose fertilizer, but skip fresh manure or high nitrogen fertilizers.
-
Water the bed thoroughly and let it settle before sowing—your goal is evenly moist soil ready for quick germination.
Sowing Seeds:
Carrot seeds are small and slow to germinate, but with the right method, you’ll set yourself up for strong, even growth.
Start by moistening your soil before planting—this helps prevent the seeds from shifting around after sowing. Sow seeds in shallow rows about ¼" deep, Lightly sprinkling them every inch. Don’t worry about perfect spacing—you’ll thin them as needed later.
Once sown, gently press the soil down with your hand or a wooden board to ensure good seed-to-soil contact, which is important for germination. Water gently using a fine mist or soft spray so you don’t displace the seeds. Be patient—carrot seeds can take 10–21 days to sprout.
TIP: To help retain moisture and regulate temperature during germination, you can lightly cover the seedbed with burlap, shade cloth, or a floating row cover. Just be sure to remove the cover once the majority of the seeds have sprouted.
Protecting Seedlings:
To protect tender seedlings from summer heat, consider shading the bed with lightweight row covers or interplanting with taller crops. In early spring, those same covers can help shield young plants from late frosts and keep soil temperatures above 40°F.
Watering & Care:
-
Keep soil consistently moist—not soggy—especially during germination, which usually takes 10–21 days.
-
Once seedlings are established, water deeply and evenly. Aim for moisture around 3" into the soil—that encourages straight taproots.
-
Mulching and interplanting helps maintain moisture and suppress weeds.
Thinning:
Thinning gives each carrot enough space to grow straight and full. Skipping this step is one of the most common reasons for small or twisted carrots.
-
First, thin seedlings when they're 2–3" tall, to a spacing of 1-2” apart.
-
Later, once they’re more established, thin to 2–3" apart for optimal root development. Bonus: those tiny thinned carrots make a delicious snack!
Growing Tips for Healthy Carrots
Growing great carrots is all about consistency—steady moisture, good airflow, and proper spacing are key to encouraging long, sweet, and straight roots. Here are some practical tips to help your carrot patch thrive:
Sunlight: Carrots do best in full sun, getting 6–8 hours of direct sunlight each day. However, in warmer climates or during summer sowings, some afternoon shade can help prevent the soil from drying out too quickly.
Watering: Carrots need evenly moist soil throughout their growing cycle. Too little water and roots may become woody or develop fine hairs; too much, and they may crack. Water deeply once or twice per week depending on weather, ensuring moisture reaches at least 3–4 inches deep.
Mulching or Interplanting: Once seedlings are established, mulch lightly with straw or shredded leaves to help retain soil moisture, regulate temperature, and reduce weed pressure. Or, interplant with leafy greens or other carrot companions to help protect soil.
Thinning: Proper thinning is essential for straight, full-sized carrots. Thin in stages—first to 1" apart, then to 2–3" apart—giving each plant enough room to develop.
Fertilizing: Carrots are light feeders but benefit from phosphorus and potassium. Mix a balanced organic fertilizer or compost into the soil before planting. Avoid high-nitrogen fertilizers, which promote leafy tops at the expense of root growth.
Weeding: Keep the carrot bed weed-free, especially early on. Carrot seedlings are slow to grow at first and can easily be outcompeted by faster-growing weeds.
Air Circulation: Good airflow reduces the risk of disease and helps keep foliage dry. Avoid overcrowding and allow space between rows to promote healthy top growth.
Soil Temperature: For best germination, soil temperatures should be between 50–75°F. Carrots will sprout more quickly in warm soil, but they taste sweetest when grown in cooler weather.
Companion Planting With Carrots
Carrots grow well alongside a variety of garden favorites. Companion planting can improve growth, save space, and deter pests.
Good Companions for Carrots:
-
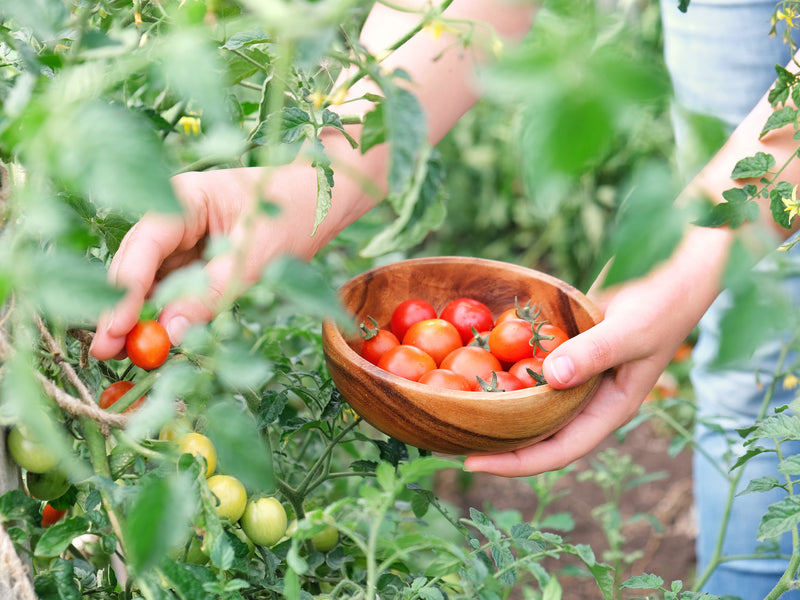
Tomatoes & Peppers: These taller plants offer light shade, helping keep the soil cool during warmer months—great for summer carrot sowings.
-
Lettuce & Spinach: These leafy greens grow quickly and provide some shelter to carrot seedlings while not competing for root space.
-
Onions, Leeks & Chives: Help deter carrot rust flies and aphids.
-
Radishes: Sow radishes alongside carrots—radishes germinate faster and can help break up soil, allowing carrots to follow more easily.
Avoid Planting With:
-
Dill & Parsnips: These plants are in the same family and attract pests that also affect carrots.
Common Carrot Problems
Even with the best care, carrots can run into a few common challenges. Knowing what to watch for—and how to fix it—can help you grow healthier, straighter, tastier roots.
Poor Germination: Carrot seeds are naturally slow to sprout and need consistent moisture to get started. Dry soil, crusted-over surfaces, or planting too deeply can all lead to patchy germination. Keep the top layer of soil moist and consider covering the seedbed with burlap or shade cloth until sprouts emerge.
Forked or Deformed Roots: This is often caused by compacted or rocky soil. Carrots need loose, deep soil to grow straight. It can also happen if fresh manure or undecomposed organic matter is added to the bed, which can disrupt root growth. Always use well-aged compost and prep your beds thoroughly before planting.
Hairy Carrots: Fine root hairs can form due to inconsistent watering or excess nitrogen. If the soil dries out frequently, carrots will send out small roots in search of moisture. Keep the soil evenly moist and avoid over-fertilizing with nitrogen-rich amendments.
Small or Twisted Carrots: Most commonly caused by overcrowding. If carrots aren’t thinned properly, they compete for space and nutrients, leading to undersized or tangled roots. Thin in stages to give each carrot 2–3 inches of growing room.
Cracking: When carrots are suddenly exposed to a large amount of water after a dry spell, they may swell too quickly and split. Prevent this by watering consistently throughout the season rather than letting the soil dry out and then overcorrecting.
Pests:
Carrot Rust Fly: Larvae tunnel through roots, causing brown streaks and decay. Use floating row covers early in the season and rotate crops each year.
Aphids: These small insects can stress young plants. Knock them off with a strong spray of water or use a homemade organic soap solution to spray on the affected areas. To make the solution use 1 tablespoon organic soap (I use Dr. Bronners Peppermint Castile soap) to one quart of warm water.
Diseases:
Leaf Blight and Powdery Mildew: Fungal issues that can affect the greens. Improve airflow, avoid overhead watering, and remove any infected foliage.
Root Rot: Caused by overly wet or poorly draining soil. Avoid overwatering and be sure your beds drain well.
Harvesting Carrots
Carrots can take anywhere from 60 to 110 days to mature, depending on the variety and growing conditions. But here’s how to know when they’re ready and how to harvest them:

When to Harvest:
-
Check the shoulders (just where the root meets the soil). If they’re about ¾ to 1 inch across and richly colored, your carrots are ready.
-
Watch the greens—lush foliage about 10–12″ tall usually means fully mature roots.
-
Prefer smaller, tender “baby” carrots? You can harvest them any time they reach ½–¾″ wide. They’re great for snacking and don’t need to wait for full maturity.
Day-Before Prep:
Water your carrot rows deeply the day before harvesting to soften the soil. This makes pulling easier and reduces the risk of breaking the roots.
How to Harvest:
-
Hold the top of the greens near the soil and give a gentle tug.
-
If resistance feels strong, pressing down on the carrot gently around the base before pulling can help loosen the root.
Staggered Harvest:
One of the best things about carrots is that you can harvest them over time. Start picking a few every week as they mature. For long-term storage, leave the rest in the ground until just before a hard frost.
Using and Storing Your Carrots
Enjoying Your Harvest:
-
Carrots are perfect fresh from the garden, roasted, juiced, or added to soups and stews.
-
Don’t toss the tops! Carrot greens are edible—try them in pesto, broth, or sprinkled fresh like parsley. Just be sure to wash them well.
Storage Tips:
-
Trim the tops to about 1″ above the root. This helps preserve moisture and flavor during storage.
-
Store washed carrots in the fridge in a breathable bag or container with a splash of water for humidity..
-
For longer storage, pack unwashed carrots in moist sand and keep in a cool (32–40°F), dark place like a root cellar.
Final Thoughts
Carrots may take a little patience, but they’re well worth the wait. With a bit of prep, consistent care, and timely harvesting, you’ll be pulling up crisp, sweet carrots you grew from seed—one of the most rewarding moments in any garden.
Happy Growing!