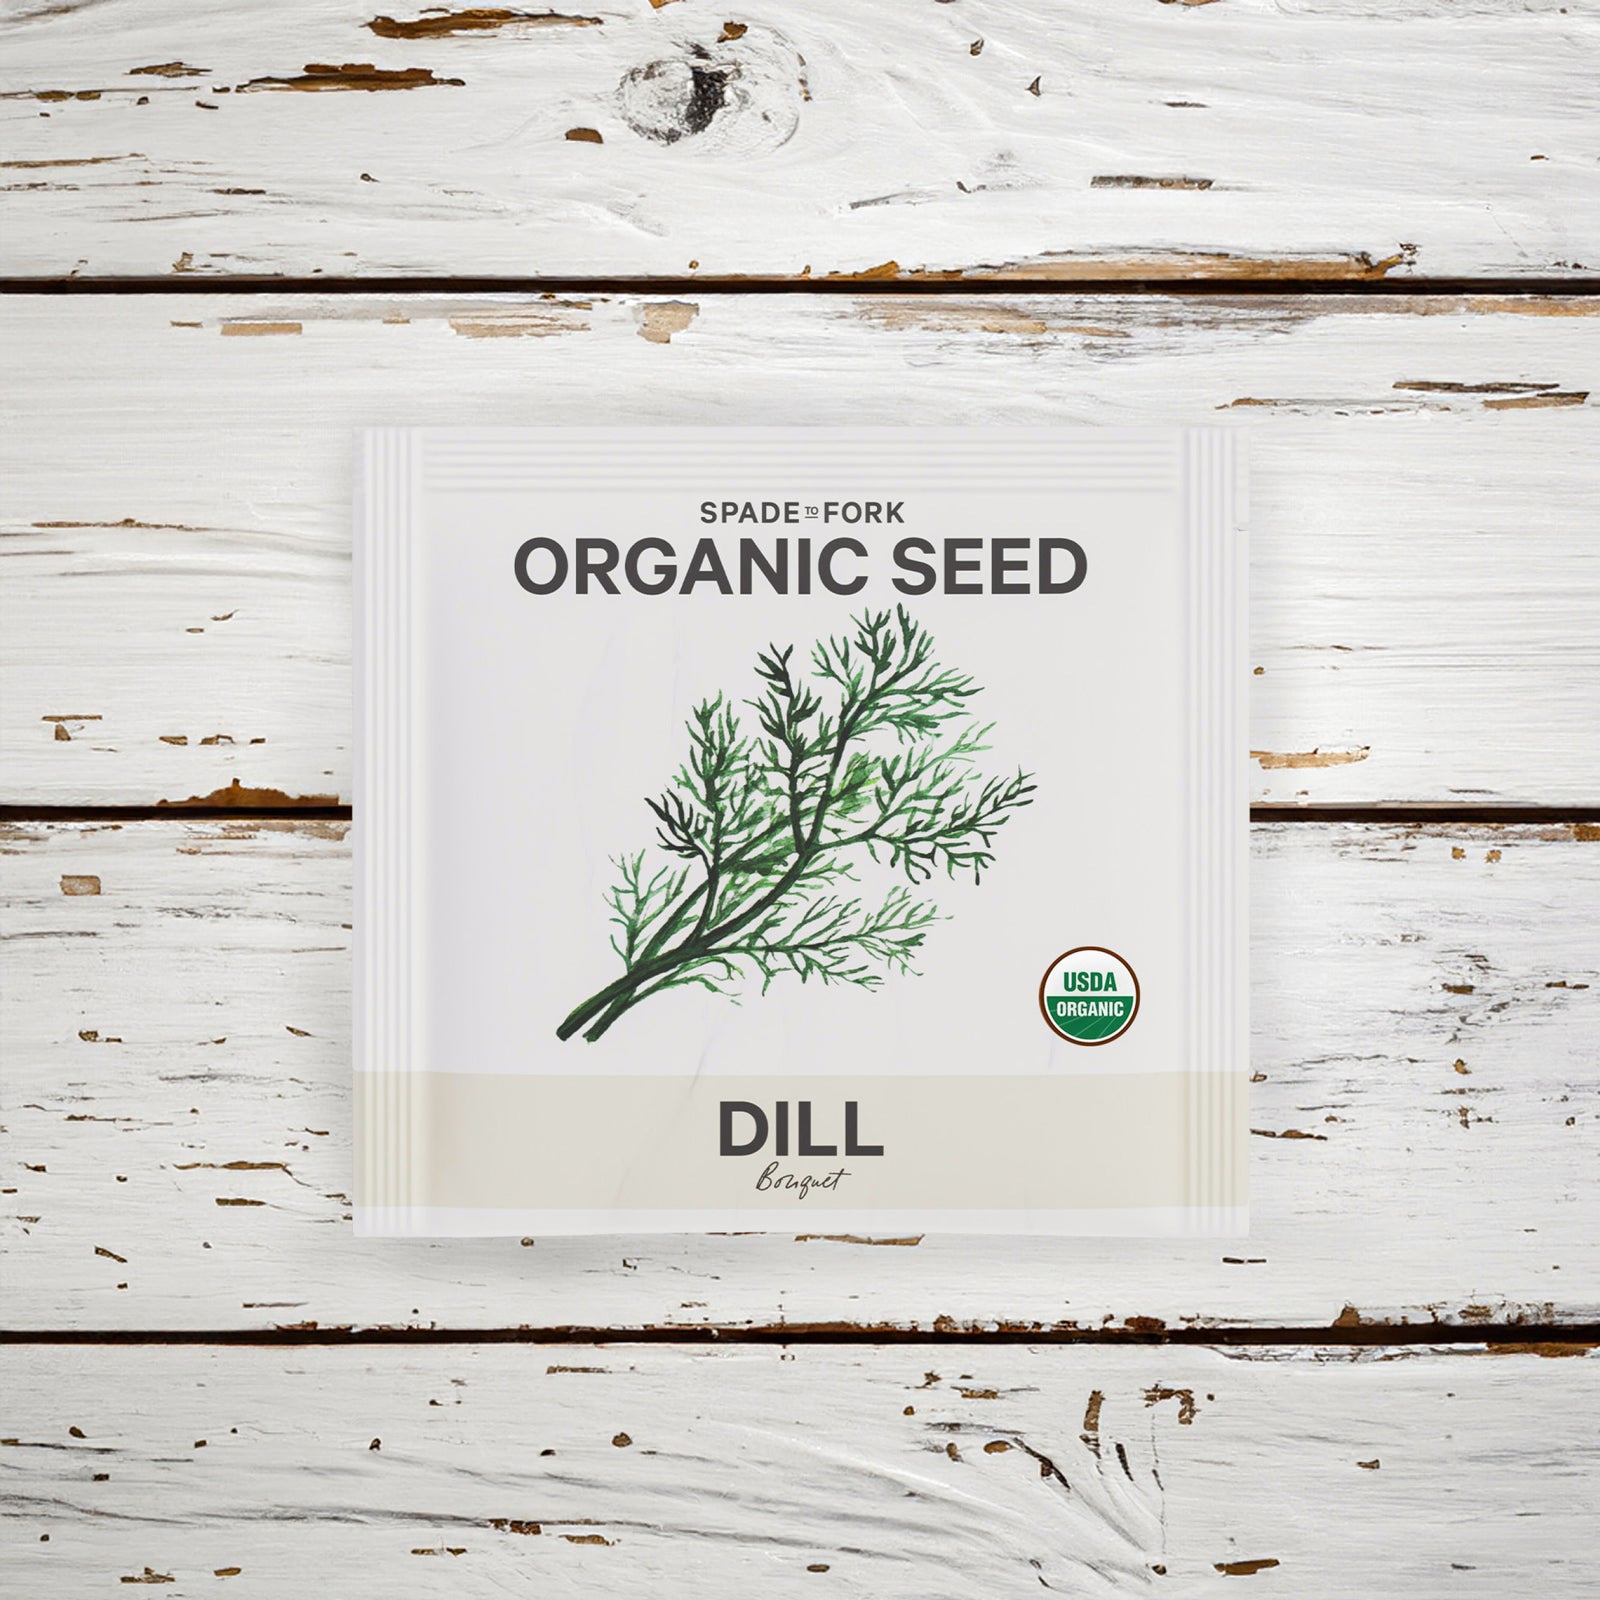
Dill (Anethum graveolens) is an annual herb known for its tangy flavor, delicate feathery leaves, and charming yellow flowers. Dill is a perfect herb to add to your garden as it’s simple to grow, adds incredible flavor to your culinary dishes and attracts beneficial insects and pollinators to your garden. In this guide, I’ll show you how simple and rewarding it can be to plant, grow, and harvest dill.
Varieties And Benefits Of Dill:
Here are a few notable types of dill to consider growing, each offering unique characteristics and uses.
- Bouquet Dill: Bouquet dill is one of the most popular varieties you’ll find in home gardens and herb beds. While it’s famously loved for its fresh, tangy flavor in cooking and pickling, it also brings a lot more to the table. Its tall, delicate stems and airy clusters of bright yellow blooms make it a beautiful addition to fresh-cut flower arrangements. This variety is known for flowering early, producing generous seed umbels and long, sturdy stalks—perfect for cut flowers, harvesting seeds and attracting beneficial insects to your garden.
- Mammoth Dill: As its name suggests, this variety can reach impressive heights of up to 6 feet, making it a towering presence in the garden. One of its remarkable features is its ability to produce enormous flower heads, which enhance its visual appeal even more. Mammoth dill is perfect for those looking to make a statement in their herb garden while still enjoying its culinary contributions.
- Hera Dill: Hera is the one to consider if you are seeking a slow-bolting dill variety. It excels in bunching and leaf harvest thanks to its uniform habit and attractive blue-green foliage with broad, flat fronds. Hera's steady growth and consistent quality make it a reliable choice for culinary use throughout the season.
Culinary Benefits of Dill
- Adds a tangy and fresh flavor to a wide range of dishes.
- Commonly used in pickling to infuse jars with its distinct taste.
- Complements fish, vegetables, and dips, enhancing their overall taste.
- Utilized in sauces, salads, soups, and stews to elevate culinary experiences.
- The seeds are often used in bread, pastry, and pickling recipes.

Health and Medicinal Uses of Dill
- Known for its digestive benefits and calming effects on the stomach.
- Rich in antioxidants that help combat oxidative stress in the body.
- Contains essential oils with antimicrobial properties.
- Historically used to alleviate various ailments and as a remedy for colic and gas.
When to Start Dill Seeds Indoors and Outdoors
The ideal timing for starting dill seeds depends on your region's climate and growing season. Here are guidelines for both indoor and outdoor seed starting:

Indoors
- Timing: Start dill seeds indoors as early as 8 to 10 weeks before your area's last expected spring frost. This early start will prepare young, strong seedlings for outdoor transplantation when the weather becomes favorable.
- Containers: If available, use biodegradable pots or soil block to sow dill seeds. These options minimize root disturbance during transplanting, ensuring a smoother transition to the garden.
- Growing Medium: Choose an organic seed starting mix like our Organic Compressed Potting Soil.
- Sowing Dill Seeds: Sow 2 seeds per cell or 6 seeds per 4 inch pot.
- Germination Environment: Place the seeded containers in a warm and sunny location, preferably near a south-facing window. Provide consistent moisture, ensuring soil remains moist but not waterlogged.

Outdoors:
- Timing: The earliest time to sow dill seeds directly outdoors is about 1 to 2 weeks before the last spring frost date. Dill thrives in cooler climates and can tolerate a light frost. You can also continue to sow dill throughout the growing season to keep a steady supply.
- Location: Choose a sunny spot in your garden with well-draining soil. Dill does best in full sun, receiving at least 6 to 8 hours of direct sunlight daily.
- Soil Preparation: Incorporate organic matter, like compost or well-rotted manure, to improve soil fertility and structure in your garden bed.
- Planting Dill Seeds Properly: Select a sunny location in your garden with well-draining soil. And Sow dill seeds directly outdoors about 1/8 inch deep in the soil. The space between the seeds should be around 2-4 inches apart in rows. You may need to grow in a thin rows once seedlings start to emerge.
Transplanting and Hardening Off Dill
If you are have started your dill seeds indoors, follow these steps when it is time to transplant to ensure a smooth transition to your outdoor garden space.
The Best Time to Transplant Dill Seedlings
Dill seedlings are ready for transplanting once they have developed a few sets of true leaves and are roughly 3 to 4 inches tall. The best option would be to wait until the risk of frost has passed when temperature remains consistently above 50°F (10°C) during the day and above 40°F (4°C) at night.
Tips For A Successful Transition:
- Before transplanting directly into the garden, introduce your dill seedlings to the outdoor environment gradually through a process called "hardening off."
- Start by placing the seedlings outdoors in a sheltered location for a few hours each day. Then, gradually increase the exposure over the course of a week.
- Gradually expose the seedlings to direct sunlight and wind to acclimate them to the natural elements.
- During the hardening-off period, be vigilant for any signs of stress, such as wilting or yellowing leaves. If you see any, adjust the exposure accordingly.
- Harden off your seedlings over the course of a week or two. In the last few days of the process, leave the seedlings out overnight to acclimate to night time temperatures.
Understanding Nutritional Requirements For Dill
To ensure healthy and robust growth, dill requires essential nutrients that support its development throughout the growing season. Choosing organic fertilization options are vital for cultivating vibrant and flavorful dill plants. A balanced organic fertilizer, such as our Organic All-Purpose 4-4-4 Fertilizer is recommended as it supplies all the macro and micro nutrients necessary for optimum growth.
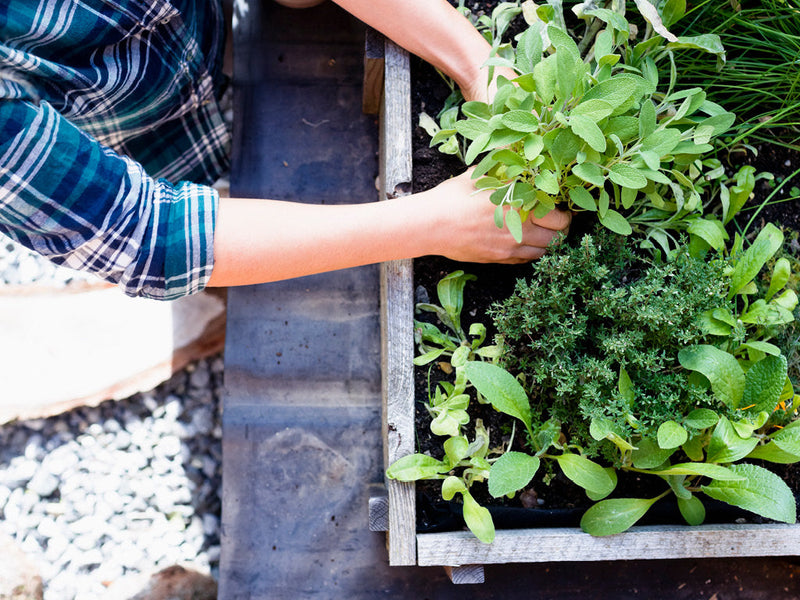
The Importance of Pruning Dill for Better Growth
Regular pruning encourages better growth, prevents legginess, and ensures the plant allocates its energy efficiently. Furthermore, removing certain parts of the plant can promote continuous leaf production and prevent premature flowering, leading to an extended harvest period.
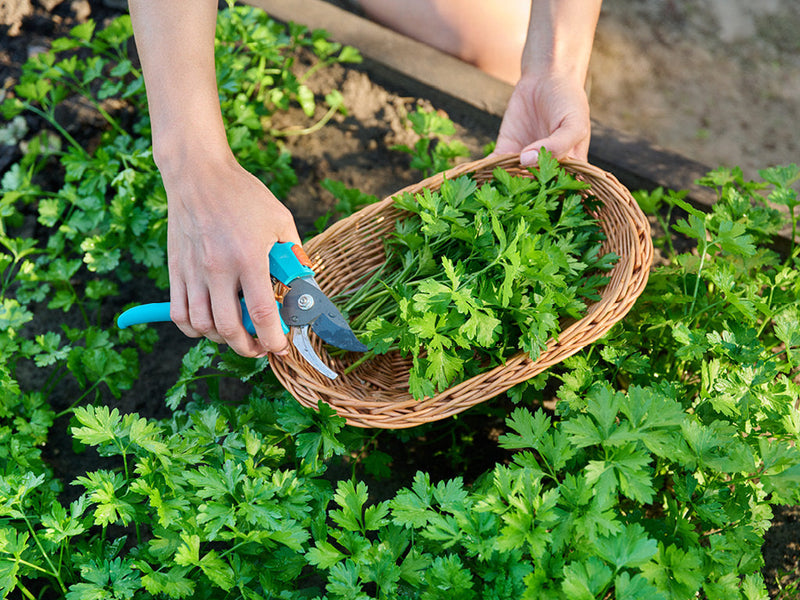
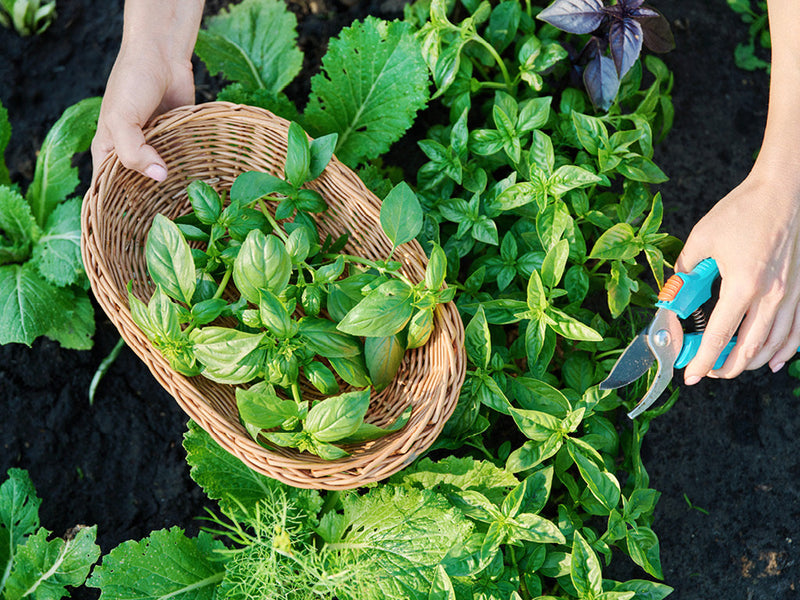
Harvesting Dill Leaves And Seeds
Harvest dill leaves once the plant reaches a height of about 8 to 12 inches and has developed a sufficient number of leaves. Remember, frequent leaf harvesting and picking the outermost leaves first encourage new growth and prolong the plant's lifespan.
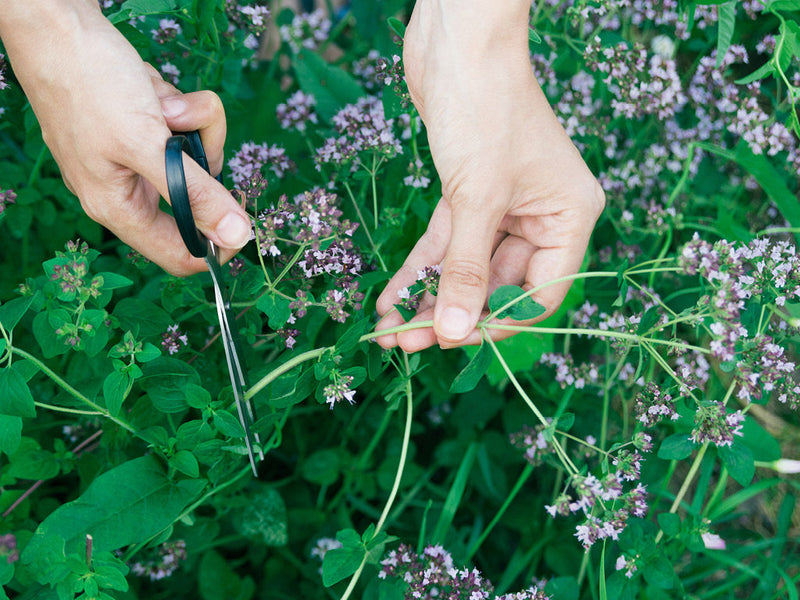
When harvesting dill leaves, use clean and sharp scissors or garden shears to snip the leaves close to the stem. Avoid cutting into the main stem to prevent damage to the plant's growth points.
If you are growing dill for the seeds, allow some flower heads to mature and turn brown on the plant. Once brown, remove the flower heads and put in a paper bag. Keep the bag in a well-ventilated, dry area to allow the seed head to fully dry out. Shake the bag and rub on the seed heads to remove dry seeds.

Best Practices for Storing Fresh Dill Leaves
Here's some of the best practices for storing and preserving dill leaves and seeds to enjoy their flavors over an extended period:
Refrigeration and Freezing Methods: Place freshly harvested dill leaves in a plastic bag or airtight container and store them in the refrigerator for short-term storage. Freeze dill for long-term storage in freezer-safe containers or bags.
Drying Dill for Extended Use: To preserve dill for an extended period, air-dry the leaves by hanging them upside down in a warm, well ventilated area. Once dry, store the leaves in airtight containers away from direct sunlight.
Making Dill-infused Oils and Vinegar: Create flavorful dill-infused oils and vinegar by steeping dill leaves in high-quality olive oil or vinegar. Strain out the leaves after a few weeks for a delicious culinary addition.
Common Pests Affecting Dill
This aromatic herb with its tangy flavor and delicate foliage may attract some unwelcome guests:
Aphids: Small, soft-bodied insects that cluster on new growth, causing distortion and stunting of the plant.
Caterpillars: Larvae of various moths and butterflies that chew on dill leaves, potentially causing significant damage.
Leafminers: Leafminers are stealthy pests that tunnel through the leaves, creating visible trails as they feed.
Interplanting dill with pest-repelling herbs and flowers, such as basil, marigolds, and chives, is a great way to deter common pests. You can also create organic insecticidal sprays using neem oil, garlic, or soap. Another option is to plant more dill than you need, allowing insects to share in some of the bounty.
Dill Flowers Are A Powerful Garden Ally
When dill begins to flower, you’re not just treating yourself to elegant umbels and fresh flavors—you’re building an army of protection for your garden.
A Natural Magnet for Ladybugs & Lacewings
The delicate yellow blossoms of dill are irresistible to predatory insects like ladybugs, lacewings, and hoverflies. These garden heroes feed on nectar and pollen, but more importantly, their larvae feast on destructive pests such as aphids, whiteflies, and spider mites—helping you reduce garden pests without lifting a finger.
Supporting Parasitic Wasps & Other Allies
Dill’s small flowering heads also provide nourishment for tiny parasitic wasps (like braconids and ichneumonids). These wasps lay eggs in common garden pests—think tomato hornworms and caterpillars—giving you biological pest control.
Encouraging a Balanced Ecosystem
By planting a generous row of bouquet dill and letting it bloom, you're setting up an "insectary"—a designated zone that draws and sustains beneficial insects such as lady bugs, syrphid flies, lacewings, tachinid flies, and parasitic wasps. These species stay in your garden, helping to prevent pest outbreaks naturally.
Companion Planting Perks
Strategically situating flowering dill among brussels sprouts, cabbages, cucumbers, and tomatoes brings these natural predators right where pests strike hardest. Studies confirm that interplanting dill with brassicas significantly reduces aphid populations—making dill one of the best companion plants for vegetable gardens.

Dill-ightfully Done
Whether you’re sowing seeds in a pot on your patio or dedicating a garden bed to this fragrant herb, dill is a joy to grow. From its tender leaves that brighten up your favorite recipes to its umbrella-like flower heads that draw in beneficial insects, dill is as practical as it is beautiful.
If you have questions, need advice, or want to share your dill success stories, I'd love to hear from you!
Happy Growing!
![]()